Install the Cortex XDR Agent Manually (MacOS)
Install the Cortex XDR Agent Manually
To install the Cortex XDR agent manually on a macOS device:
Verify that the system meets the requirements described in the Cortex XDR Agent for Mac Requirements:
- RAM: 512 MB minimum, 2GB recommended
- Hard Drive Space: 5GB minimum, 20GB recommended
-
Operating System: macOS 14 Sonoma , macOS 13 Ventura , macOS 12 Monterey
Verify device is connected to the QC Network (VPN, QC Wifi, wired connection)
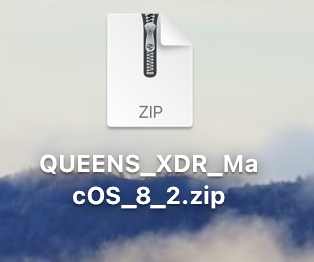
- Download the installation package you want to install from Cortex XDR using the link below: Queens College Cortex XDR Install File
- Drag the installation package to your desktop.
- Unzip the installation package by double clicking the folder
 ------>
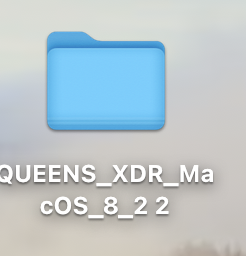
4. Open the unzipped folder and double click Cortex XDR.pkg

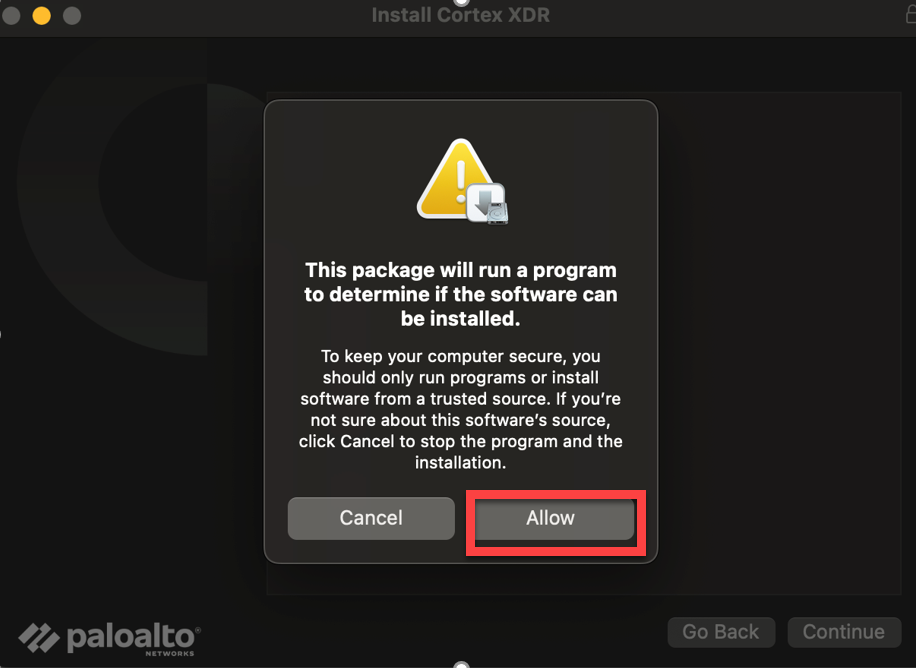
You will also be prompted to allow the package to run on your machine, select "Allow"
-
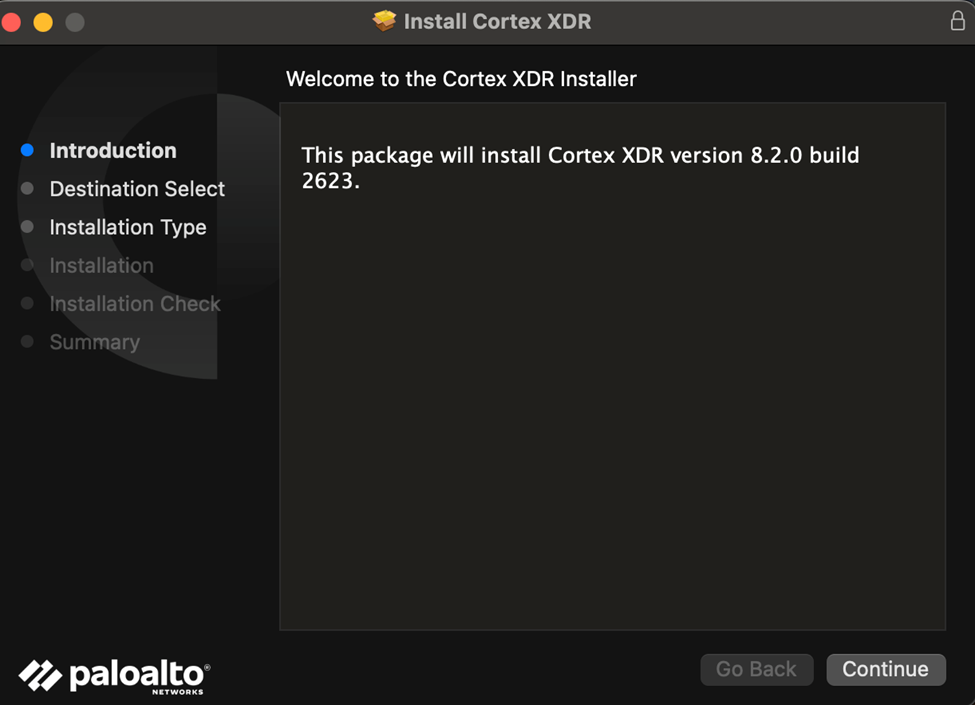
- Click Continue to proceed with the installation.
- If prompted to confirm the destination, click Continue
- Click Install to begin the installation.

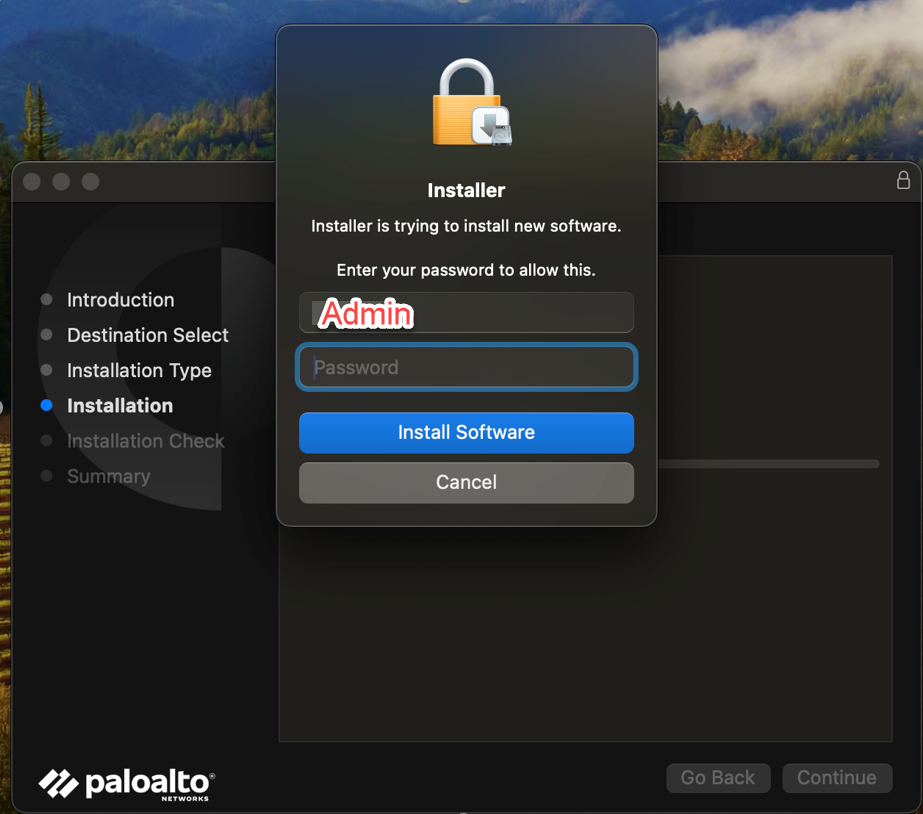
- Enter the User Name and Password of the administrator with access to install software on the device, and then click Install Software
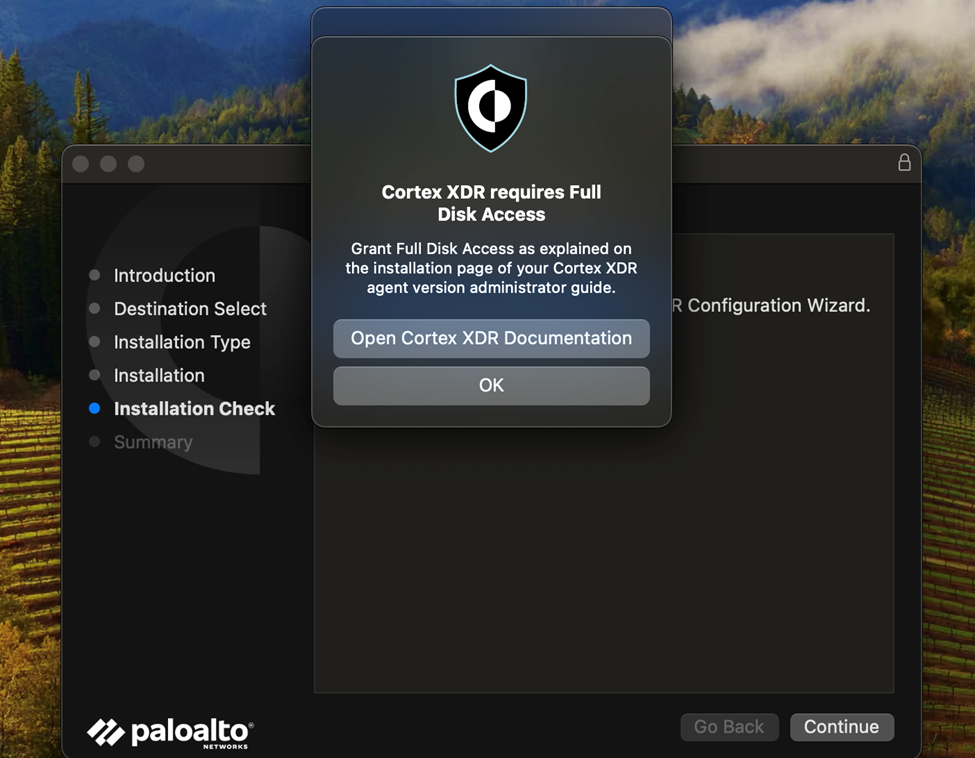
- You will then be prompted to allow full Disk Access, select OK.
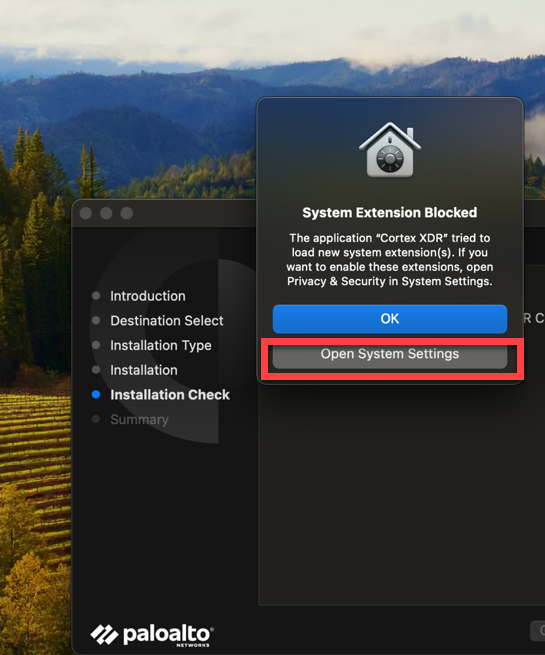
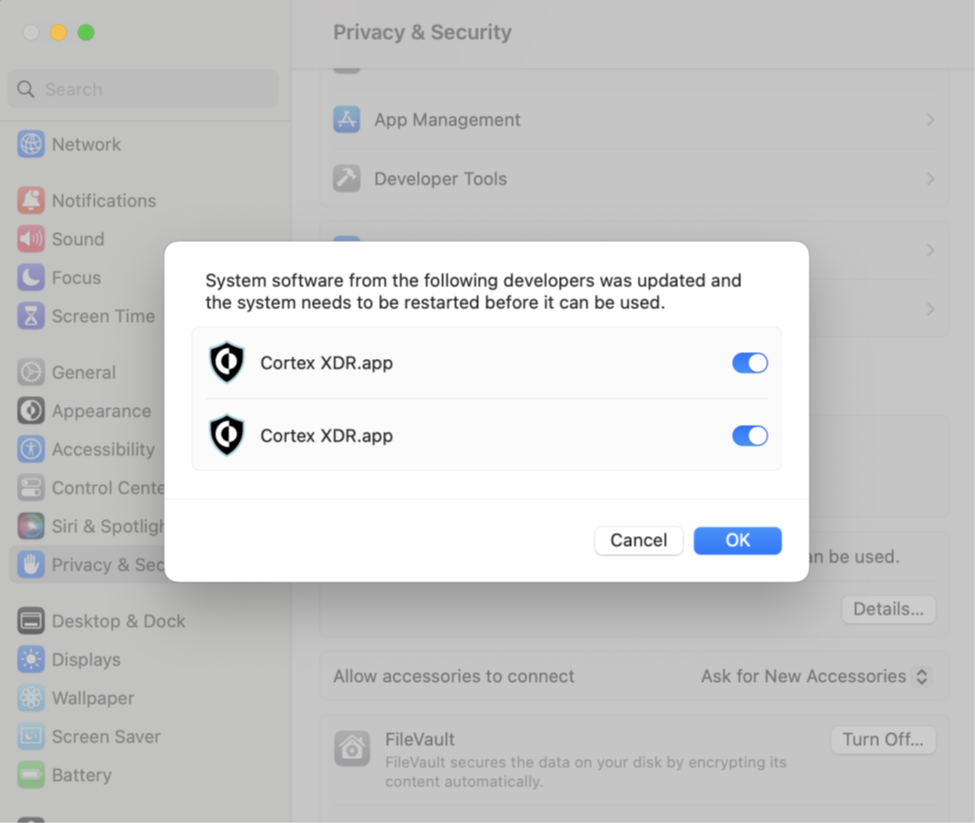
5. (macOS 10.15 and later versions) Approve Cortex XDR System Extensions.
- Select "Open System Settings"
-
- Select both Cortex XDR System Extensions and click OK to allow them. Ignore the message informing that The system needs to be restarted before it can be used since this step is not required.
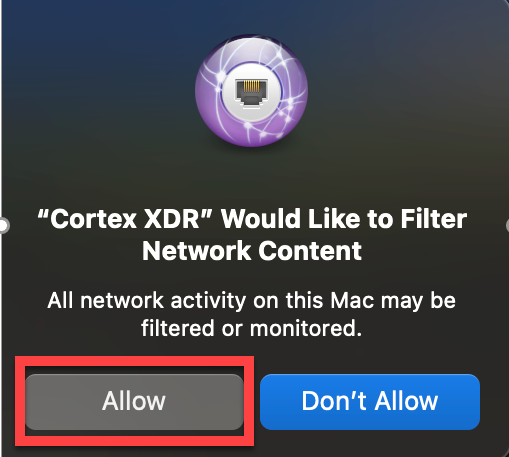
d. Approve Cortex XDR Web Content Filter. Click Allow to enable the Cortex XDR agent to monitor network events.
6. The Configuration Wizard will open, select "Continue" and then select "Open Full Disk Access"

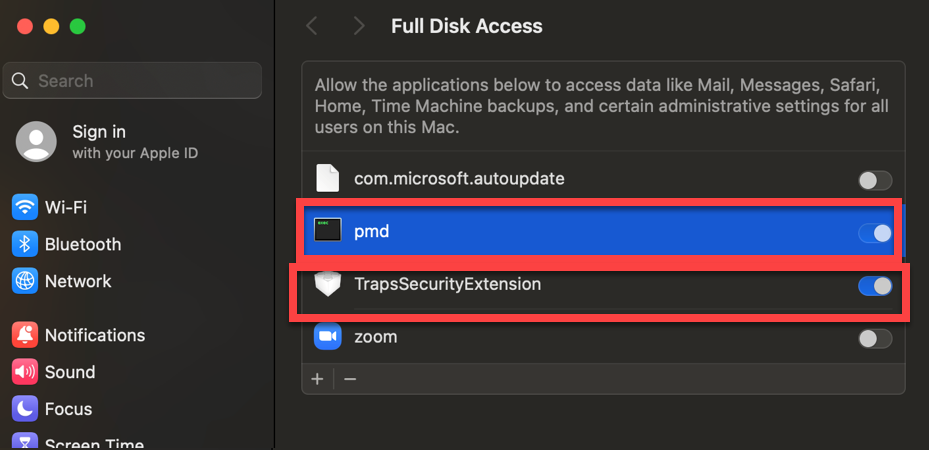
To grant the Cortex XDR agent full disk access locally on the device:
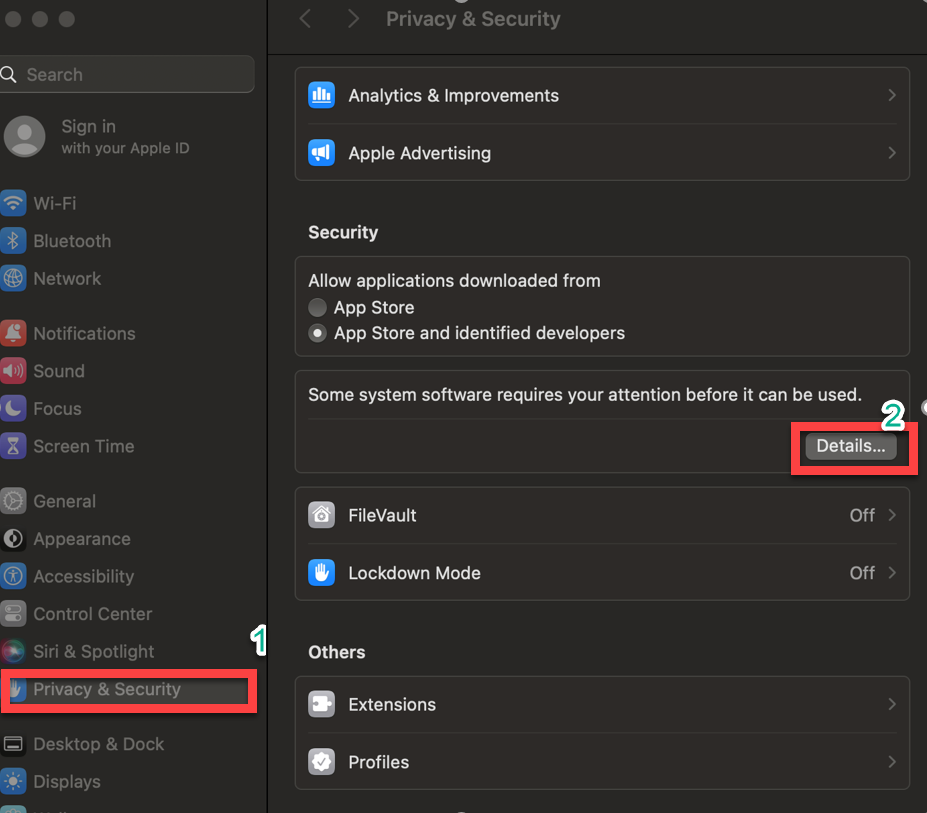
- Go to System Settings → Privacy & Security tab, and select Full Disk Access
- To make changes, click lock icon on the bottom left and enter your credentials.
- Select pmd
- Select TrapsSecurityExtension
7. After you have granted full disk access, select "Continue" and you have completed the installation.
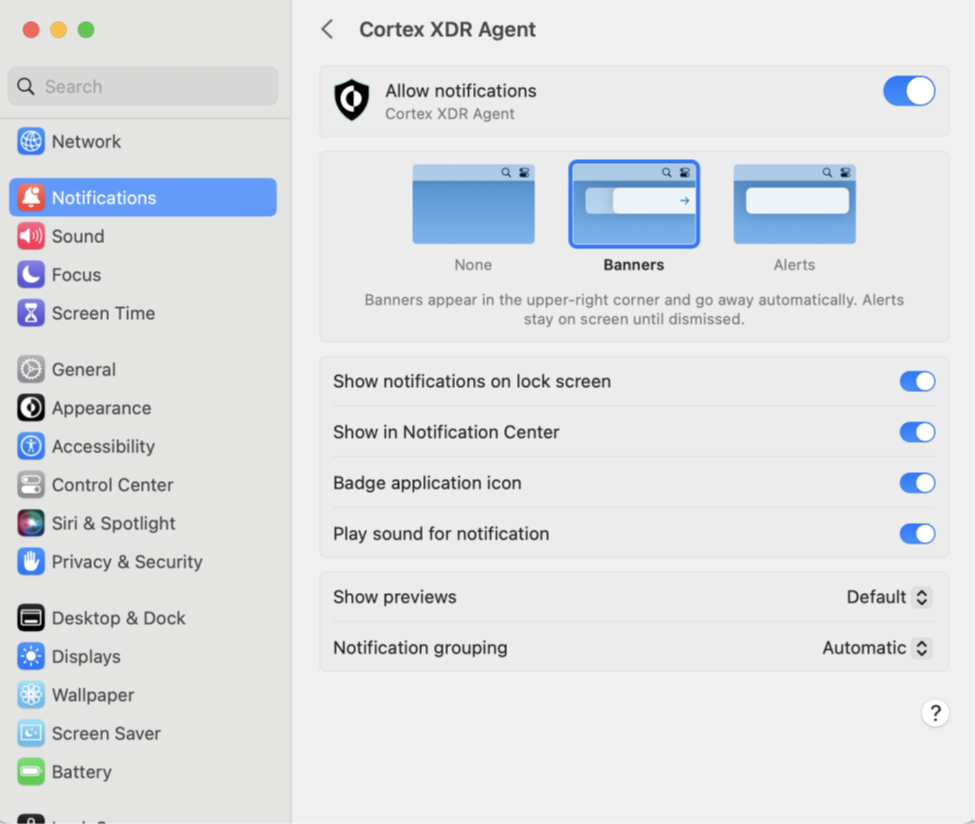
- The operating system will prompt a system notification requesting permissions to show Cortex XDR agent notifications.

- Click Options, and then click Allow

- If the system notification is no longer visible, you can approve permissions in System Settings → Notifications. Select Cortex XDR agent and click Allow Notifications
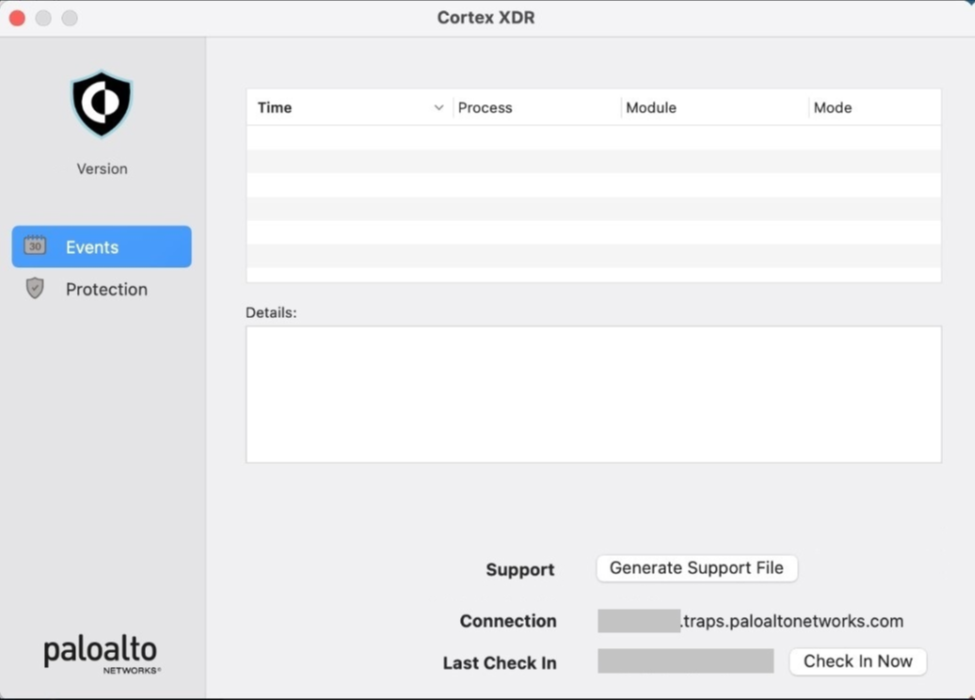
8. Verify the Cortex XDR agent connection and protection status.
- To open the Cortex XDR agent console, click the agent icon in the menu bar, and select Open Console

- Click Check In Now to initiate a connection with your Cortex XDR tenant. If successful, the Connection field updates to display your Cortex XDR tenant, and the Last Check In field updates to display the last check in date and time.
Warning
If the Cortex XDR agent does not connect to Cortex XDR, verify your internet connection and check the Cortex XDR Agent for Mac Requirements. If the agent still does not connect, contact Palo Alto Networks support.