Instructions for the Scantron REMARK analysis software
Instructions for the Scantron REMARK analysis software
1. Follow the regular procedure to set-up the scanner and load the test sheets. Follow Steps 1-7, then return here for the REMARK steps.Specifically, be sure the scanner display shows the message "PERFORM TEST ANALYSIS".
2. Log onto the computer your regular QC computer account (using your QC CAMS account and password. IE: Jsmith).
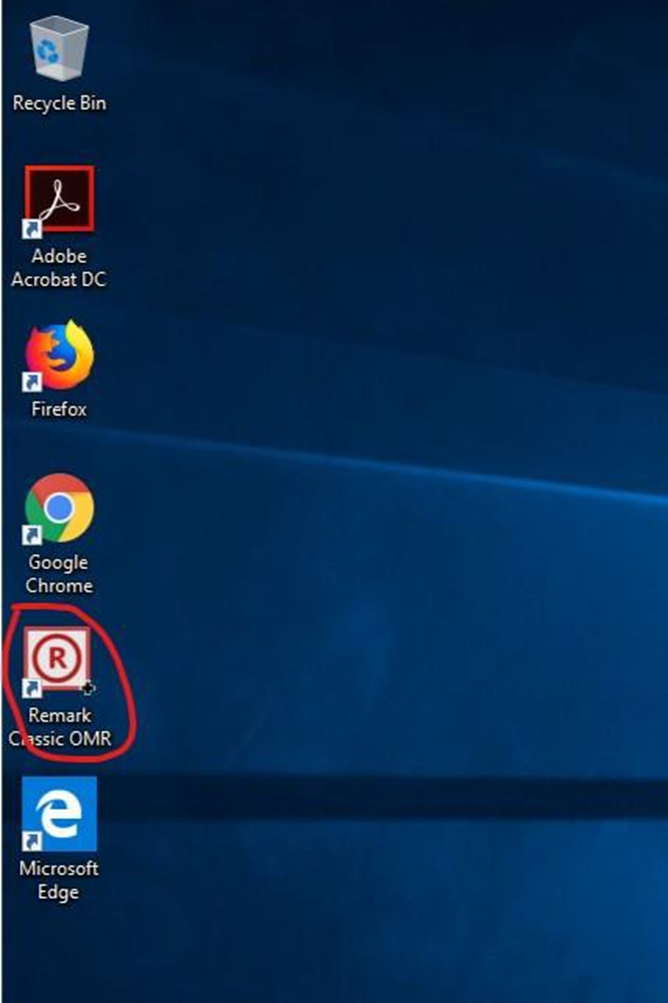
3. Click on the REMARK icon located on the computer desktop.
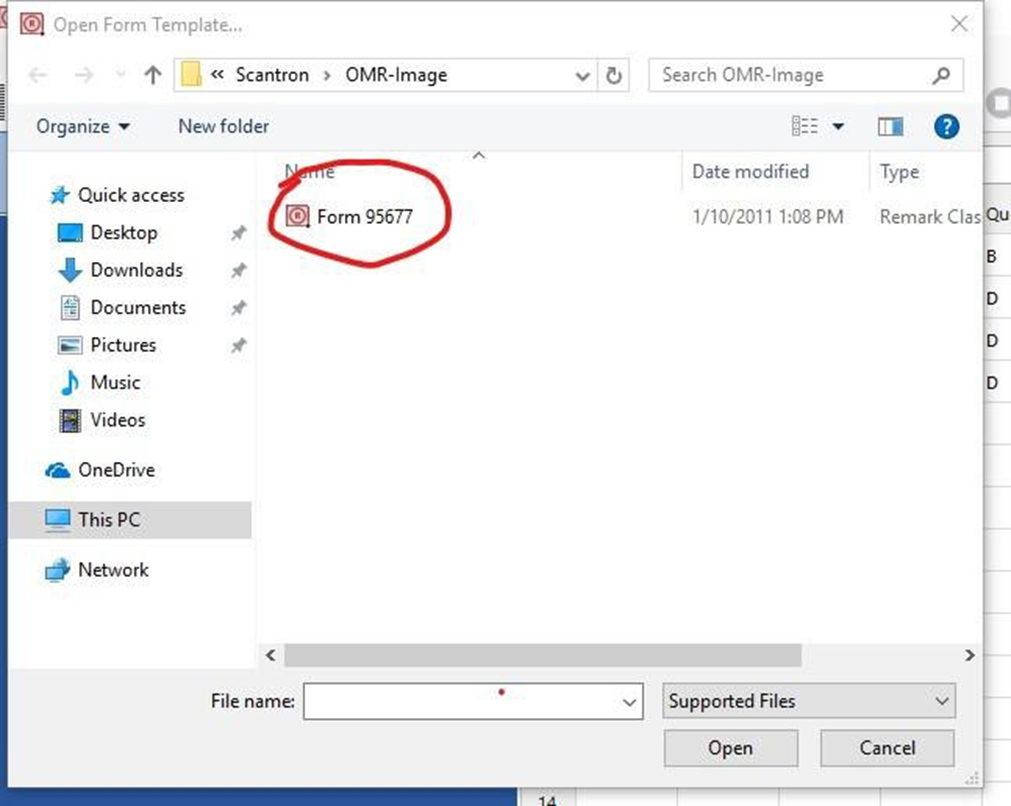
4. Once the software loads, click on OPEN OTHER TEMPLATES
5. Select Form 95677.
6. Click READ, and when asked to select a scanner, click READ in the message box corner. A second message box appears with instructions that are already noted here, so just click to continue.

7. Be sure your answer key is the first form in the Scantron tray, and that you have penciled in the item count. Also, be sure to bubble in CORRECT ANSWER at the top of the form on the key sheet. Press YES on the Scantron unit to start reading. After you have fed in all forms (no more than 100 at a time), press QUIT and YES on the Scantron to end the scanning session. (FOLLOW STEPS 7-9 IN SCANTRON MACHINE INSTRUCTIONS)
8. The REMARK software should now display a spreadsheet that includes all the data collected from the scanner, the first row should be the answer key data. Cells on the spreadsheet are color coded to indicate where the Scantron has identified a blank or multiple entries. By inspecting the test sheets, you may be able to correct these cells easily to insure proper scoring.
IE: On your answer sheet you accidentally marked question 10 as “D” when the correct answer was “B.”
9. Click on the large ANALYSIS button, and then on SAVE DATA AS to store the spreadsheet.
10. Click on QUICKGRADE. Browse through the reports. For each that you want to save, click E_MAIL REPORT and send the report to your qc e-mail address.
Setting up your email
Email Message Tab
1. In the “To” field enter your QC Email address
2. In the “From” field enter any email address (for example: scantronresults@qc.cuny.edu)
3. Enter a subject and then attach the test analysis you saved earlier.
4. Compose the body of the email to your liking.
SMTP Settings Tab
1. In the “SMTP server” field enter the following: smtp.qc.cuny.edu
2. In the “SMTP port” field enter the following: 25
3. Check the box for “enable a secured(SSL) connection. Click OK and then go back to Email Message tab and click send.