How to Edit Your OUTLOOK Account to Add the “FROM” Field to Your email Address
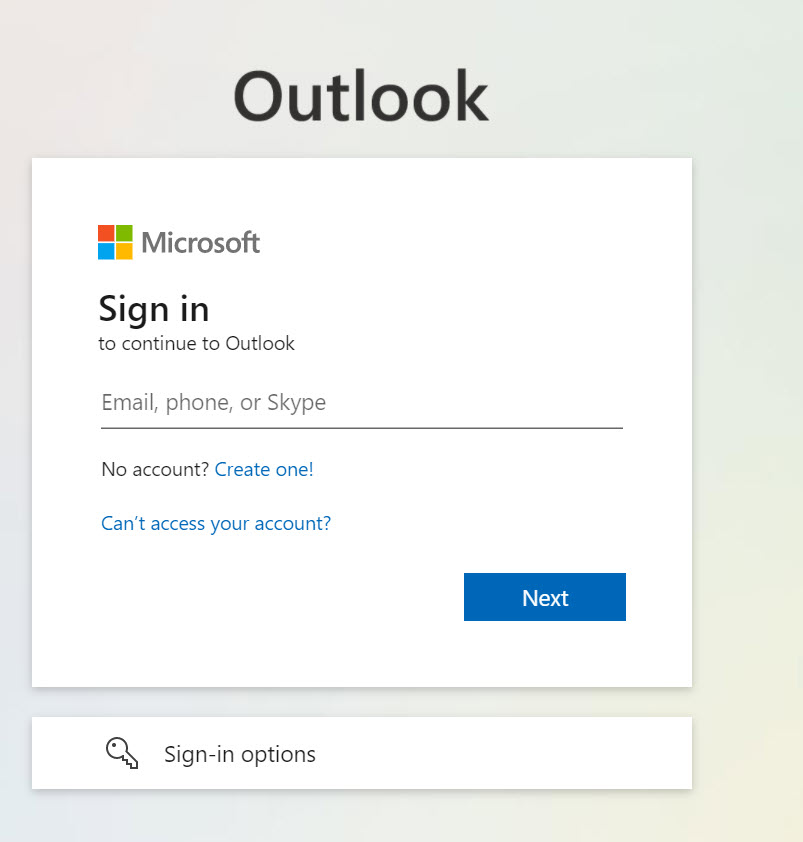
1. Type in your URL for your OUTLOOK email

You will then see the Microsoft SIGN IN page
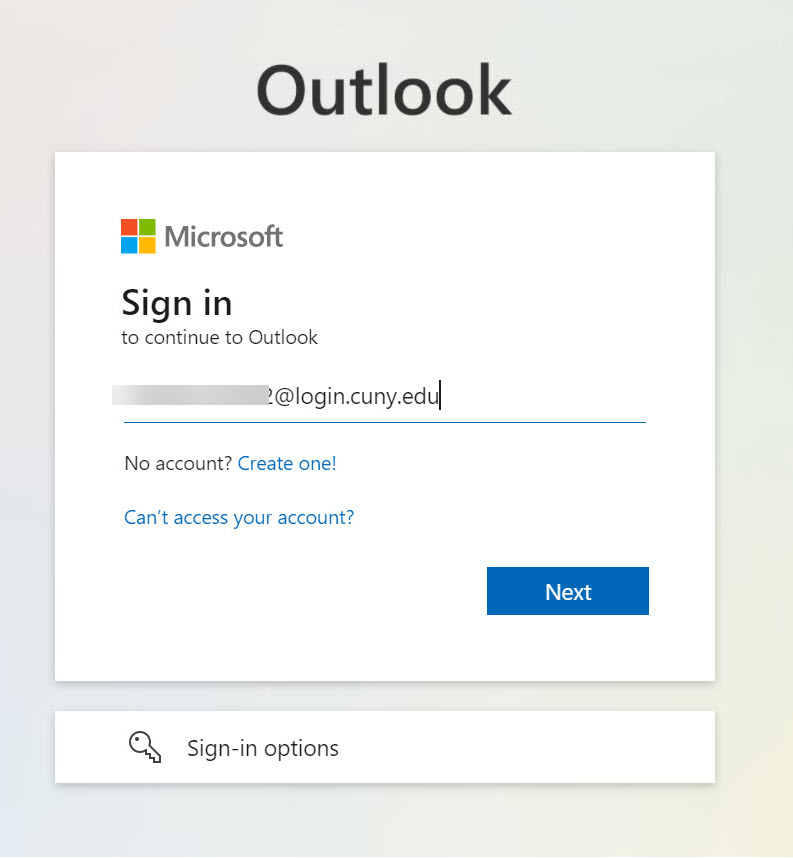
2. Please log into Microsoft Sign In using your CUNYfirst login credentials (firstname.lastname##@login.cuny.edu)
3. You will then see the following request to sign in (you can click yes)

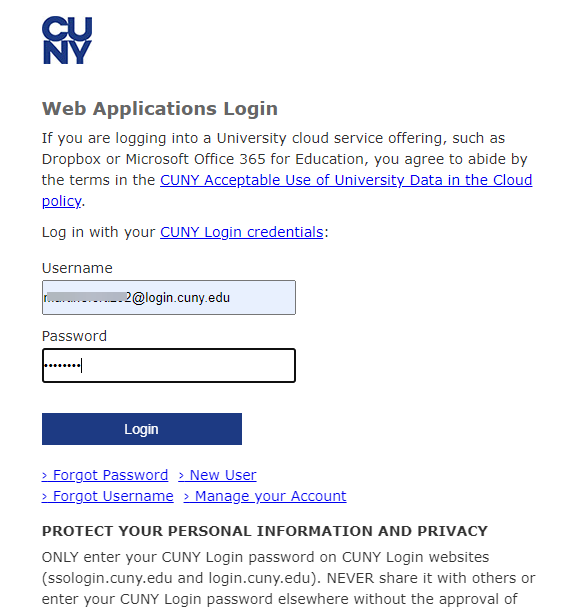
4. You will then you will be directed to the CUNY Web Applications login page
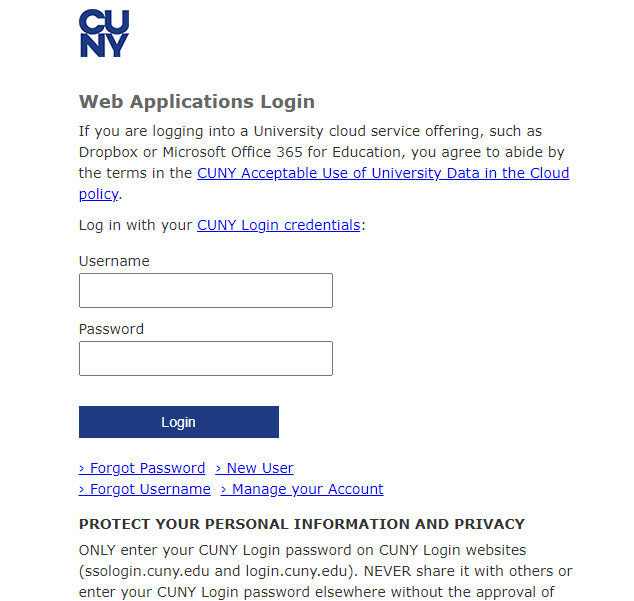
5. You will then log in with your CUNYfirst login (firstname.lastname##@login.cuny.edu)
6. The application will then initialize and will redirect you to the Microsoft OUTLOOK home page. A sample toolbar is displayed below.

7. You then want to go to the right of the TOOLBAR and click on SETTINGS. A dropdown will appear like the page below
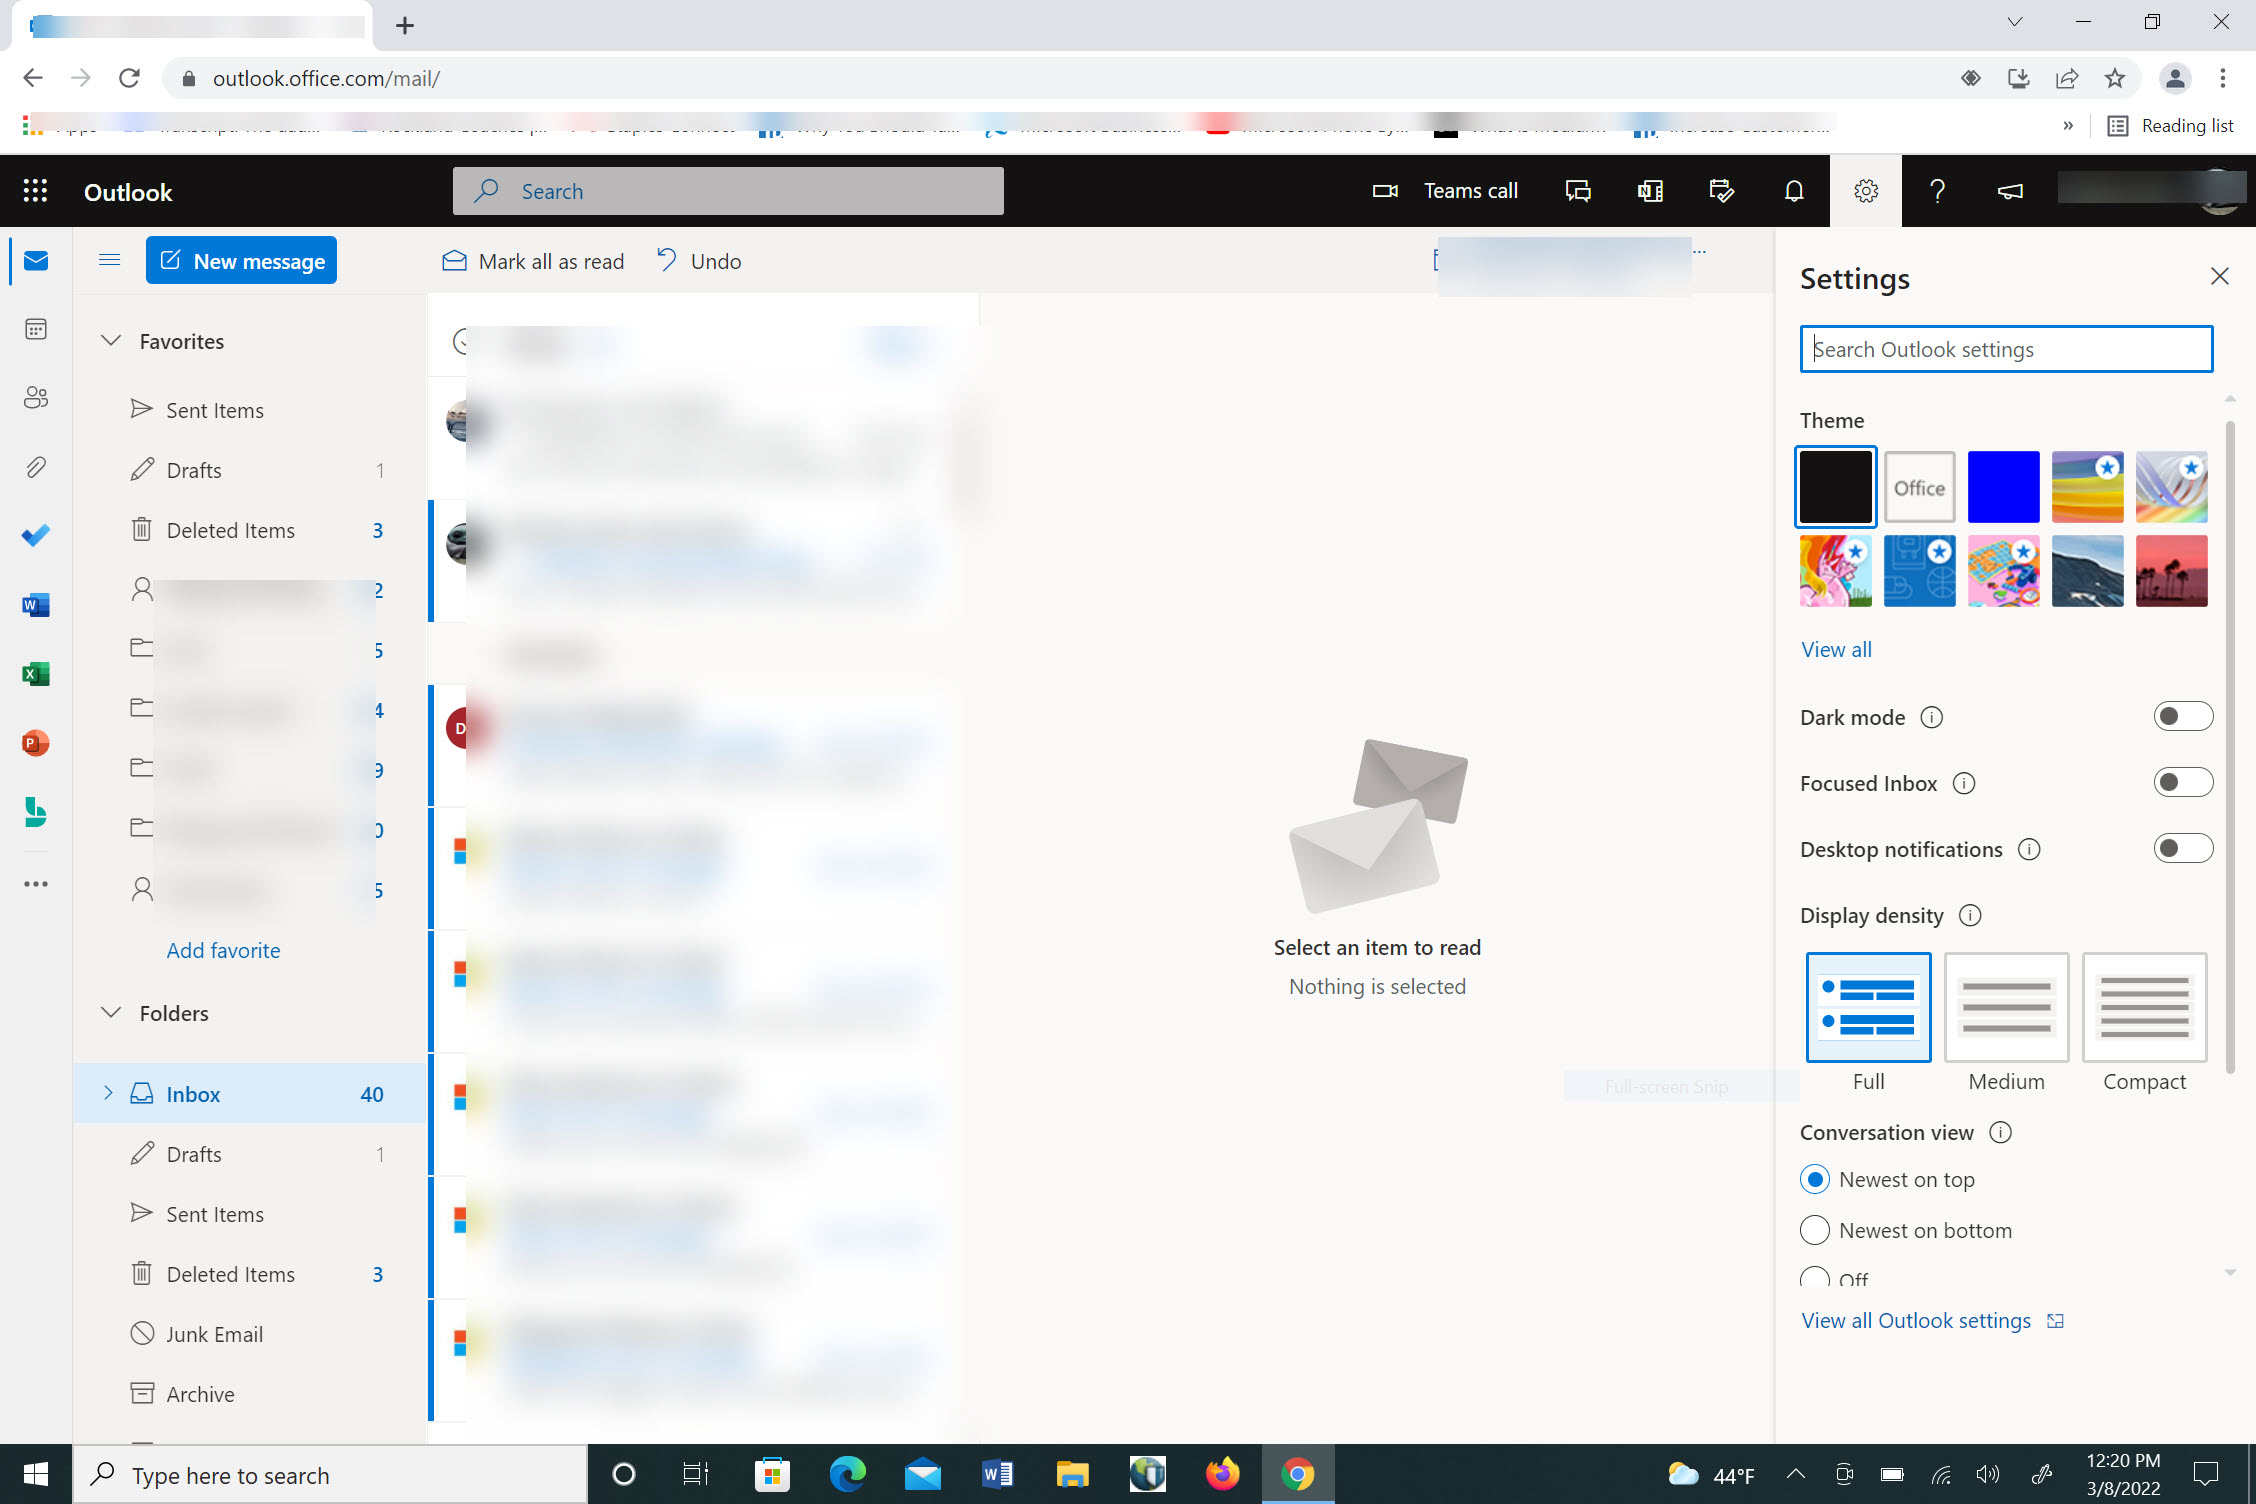
Then click on the bottom of the Settings Dropdown to the blue writing that states ‘View All Outlook Settings” and CLICK
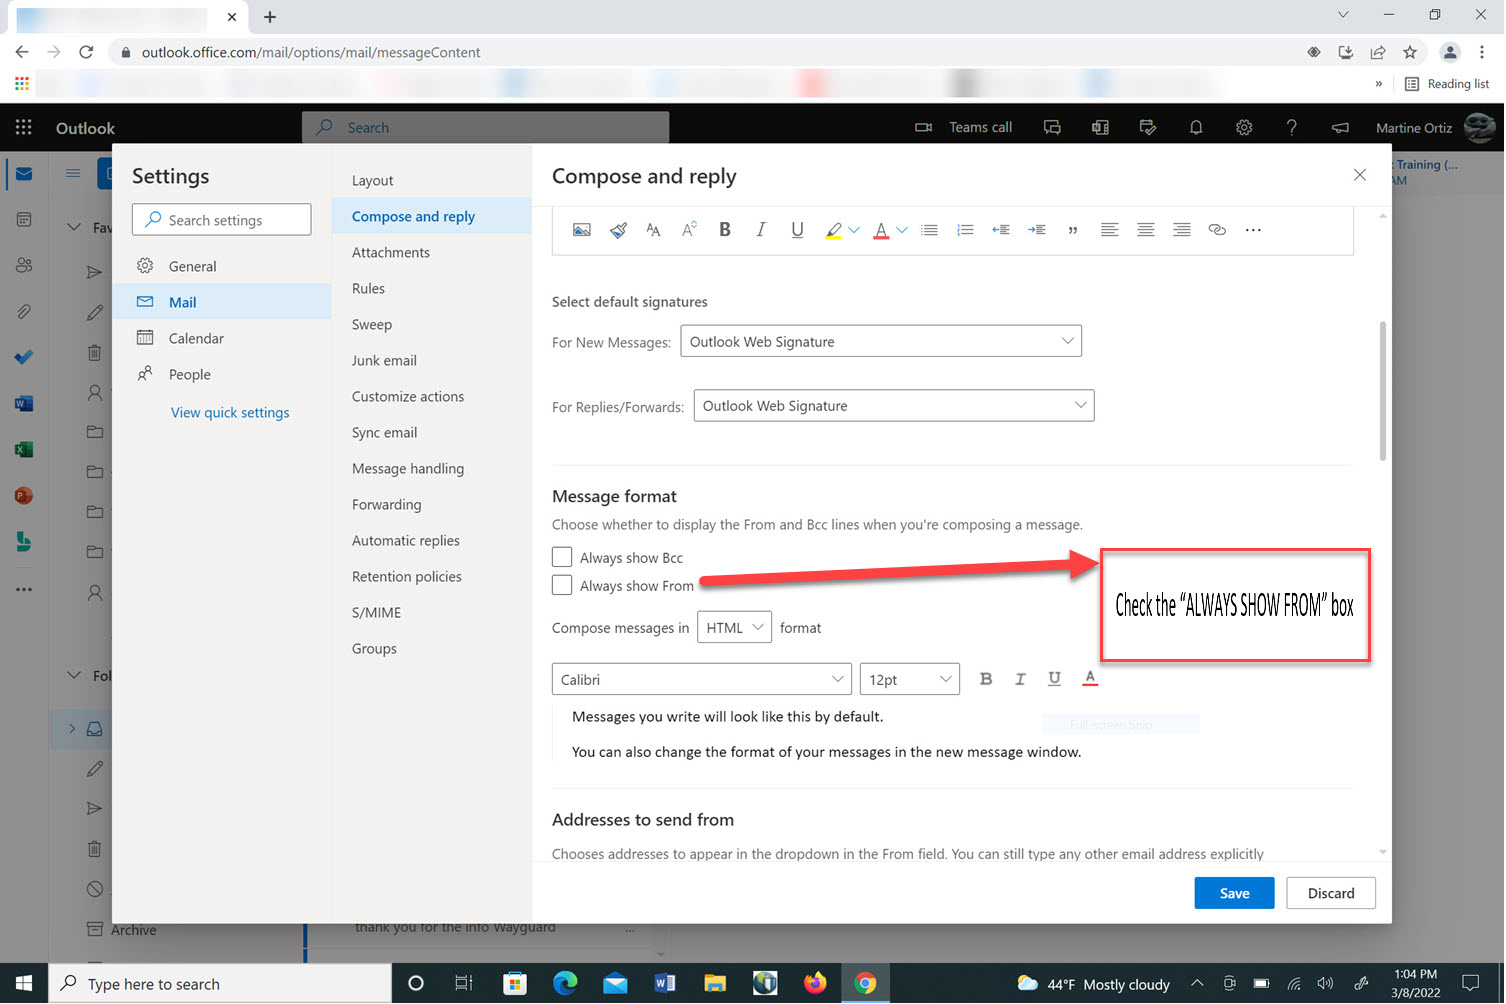
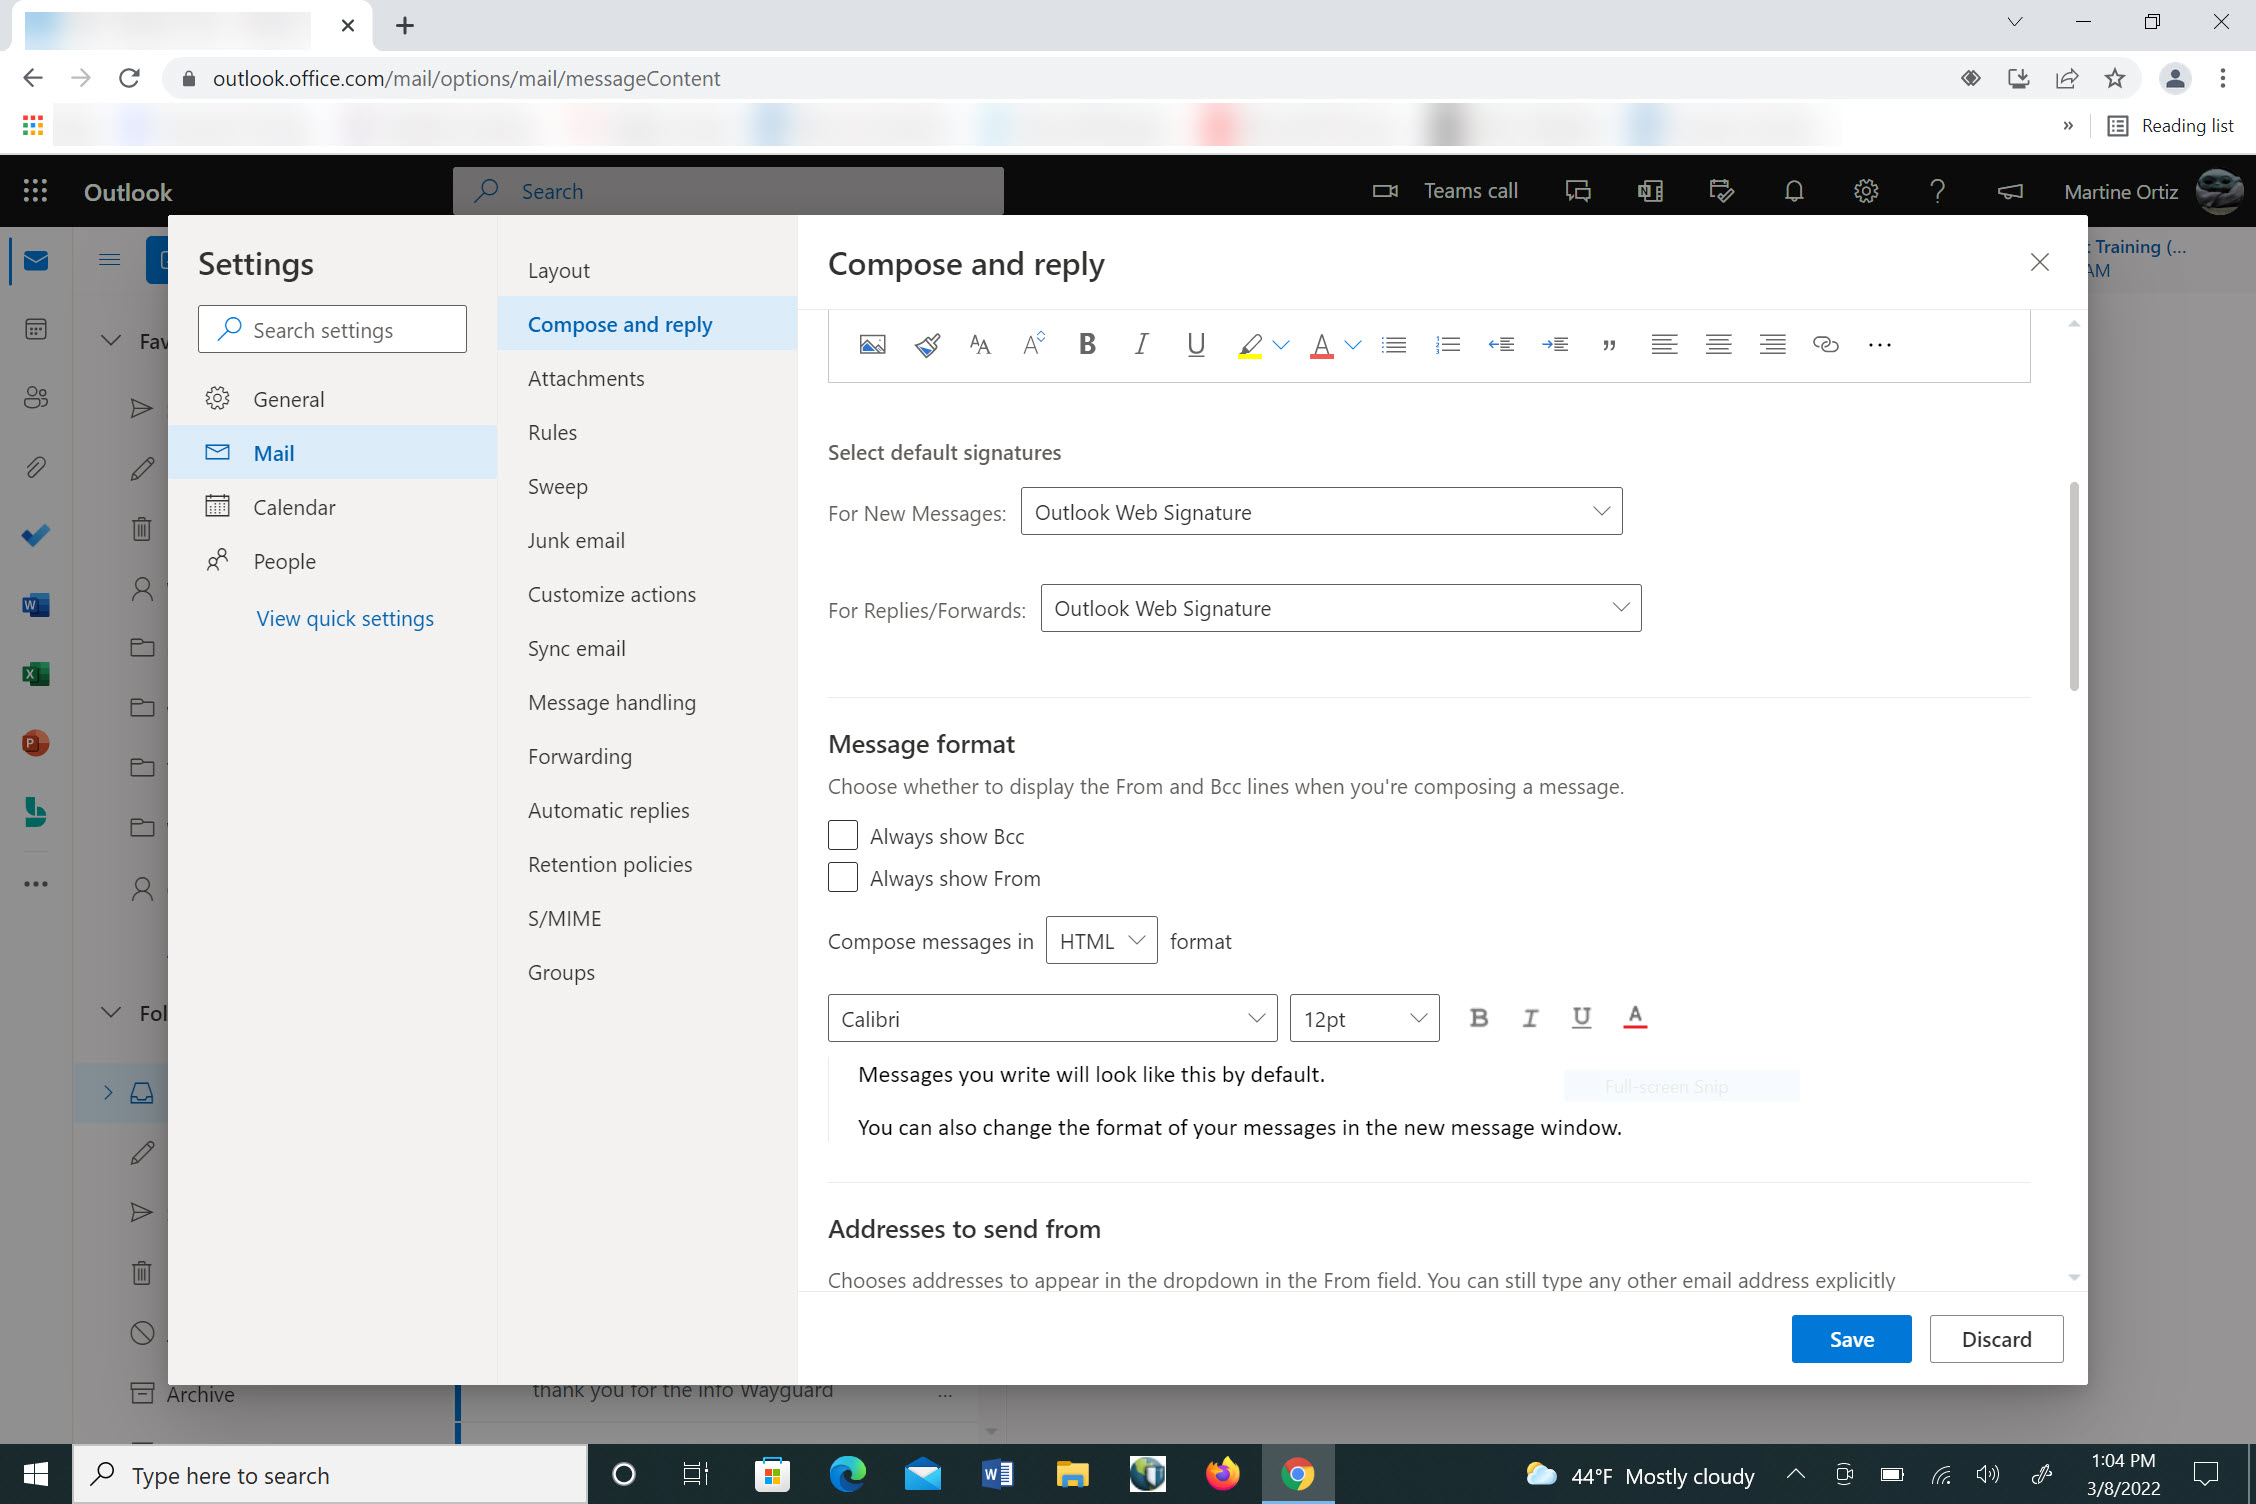
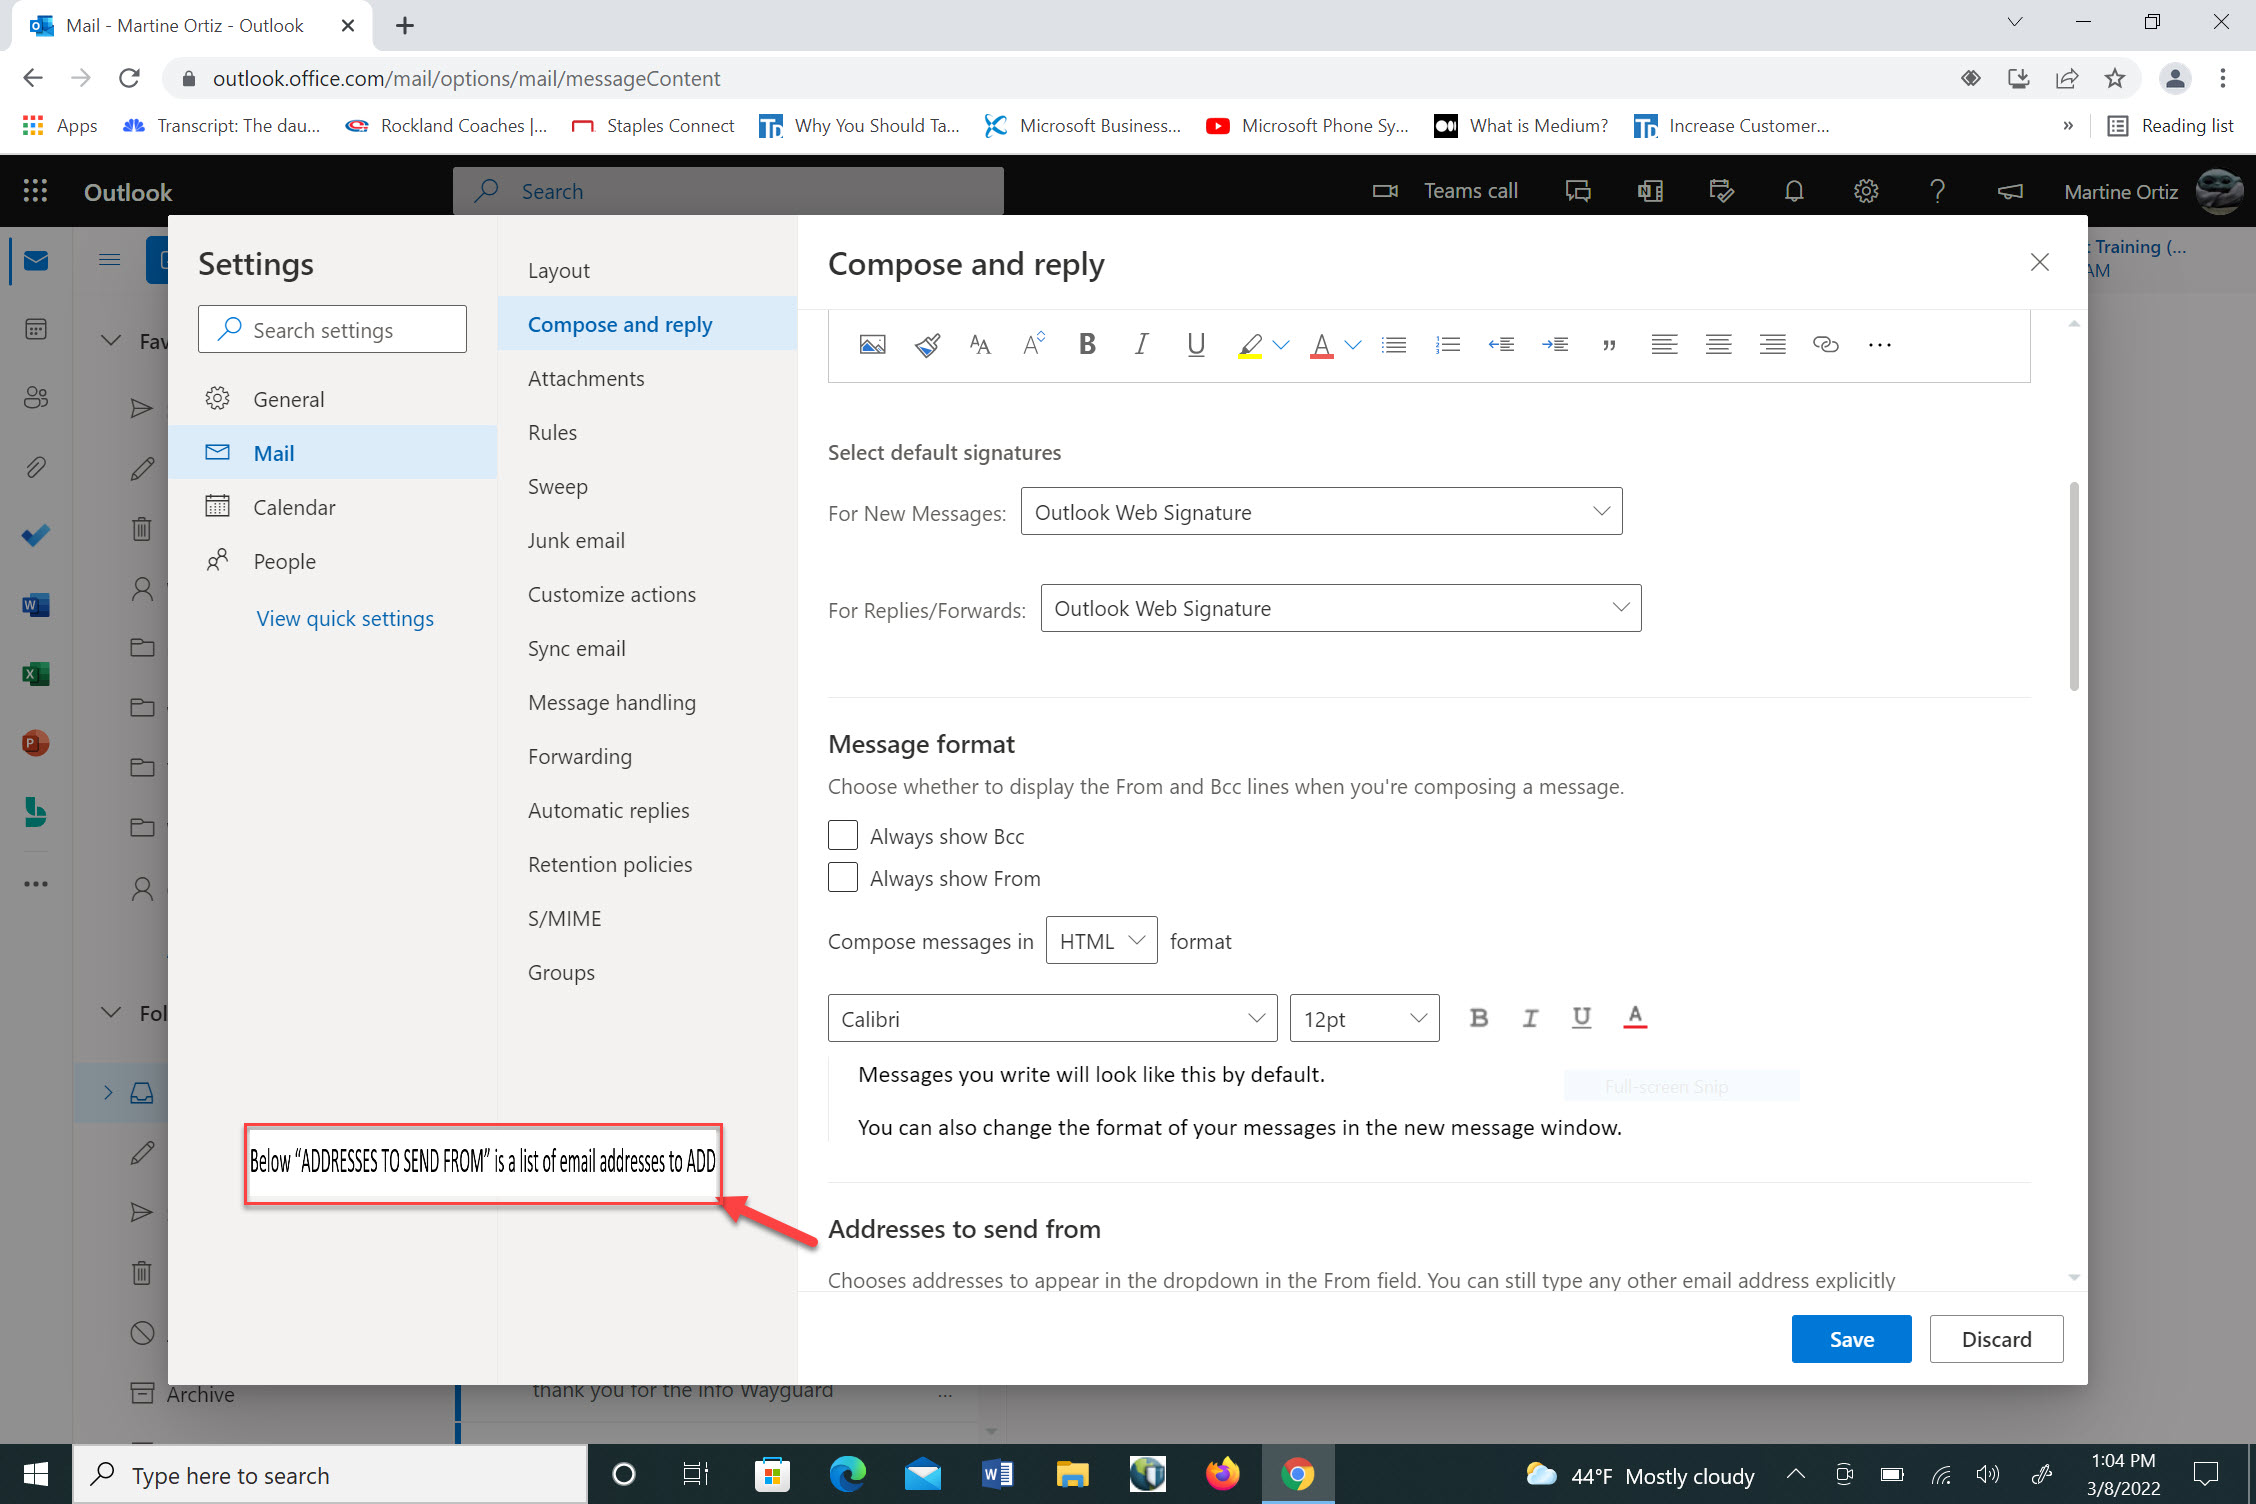
8. You will see the embedded Settings page that appears below. Choose “Mail”, then choose “Compose and Reply” on the left and on the right, you want to go to the section that says “Message Format” and then check “Always show From”.

9. By checking this field, the “From” field will then appear at the top of the New Message
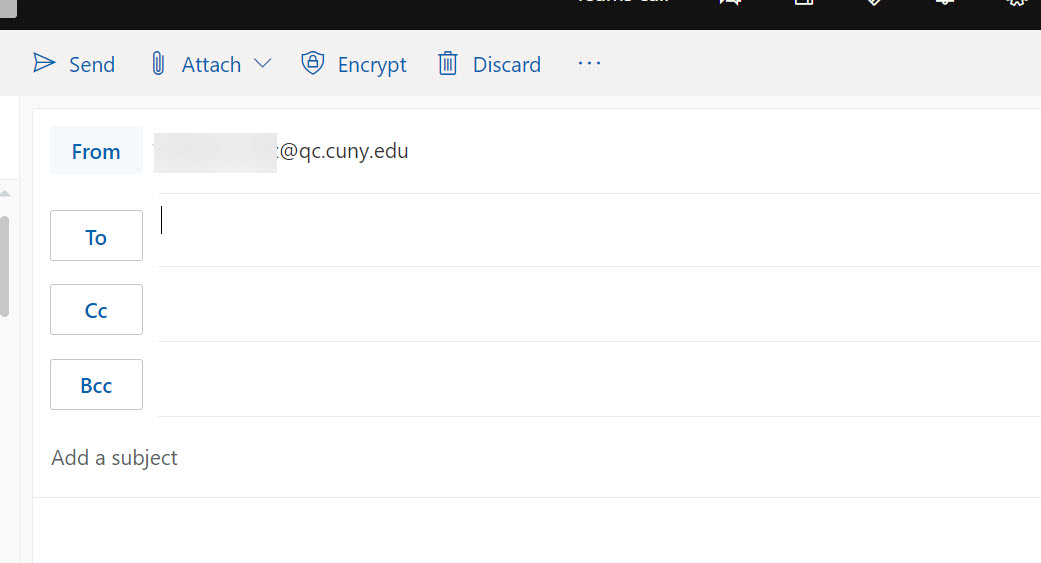
10. After checking box, the new email message will display a “FROM” field on the top of your email above the TO and CC fields.
The FROM field will remain permanently displayed as part of your email settings field unless you choose to remove it by changing your Settings as displayed above.

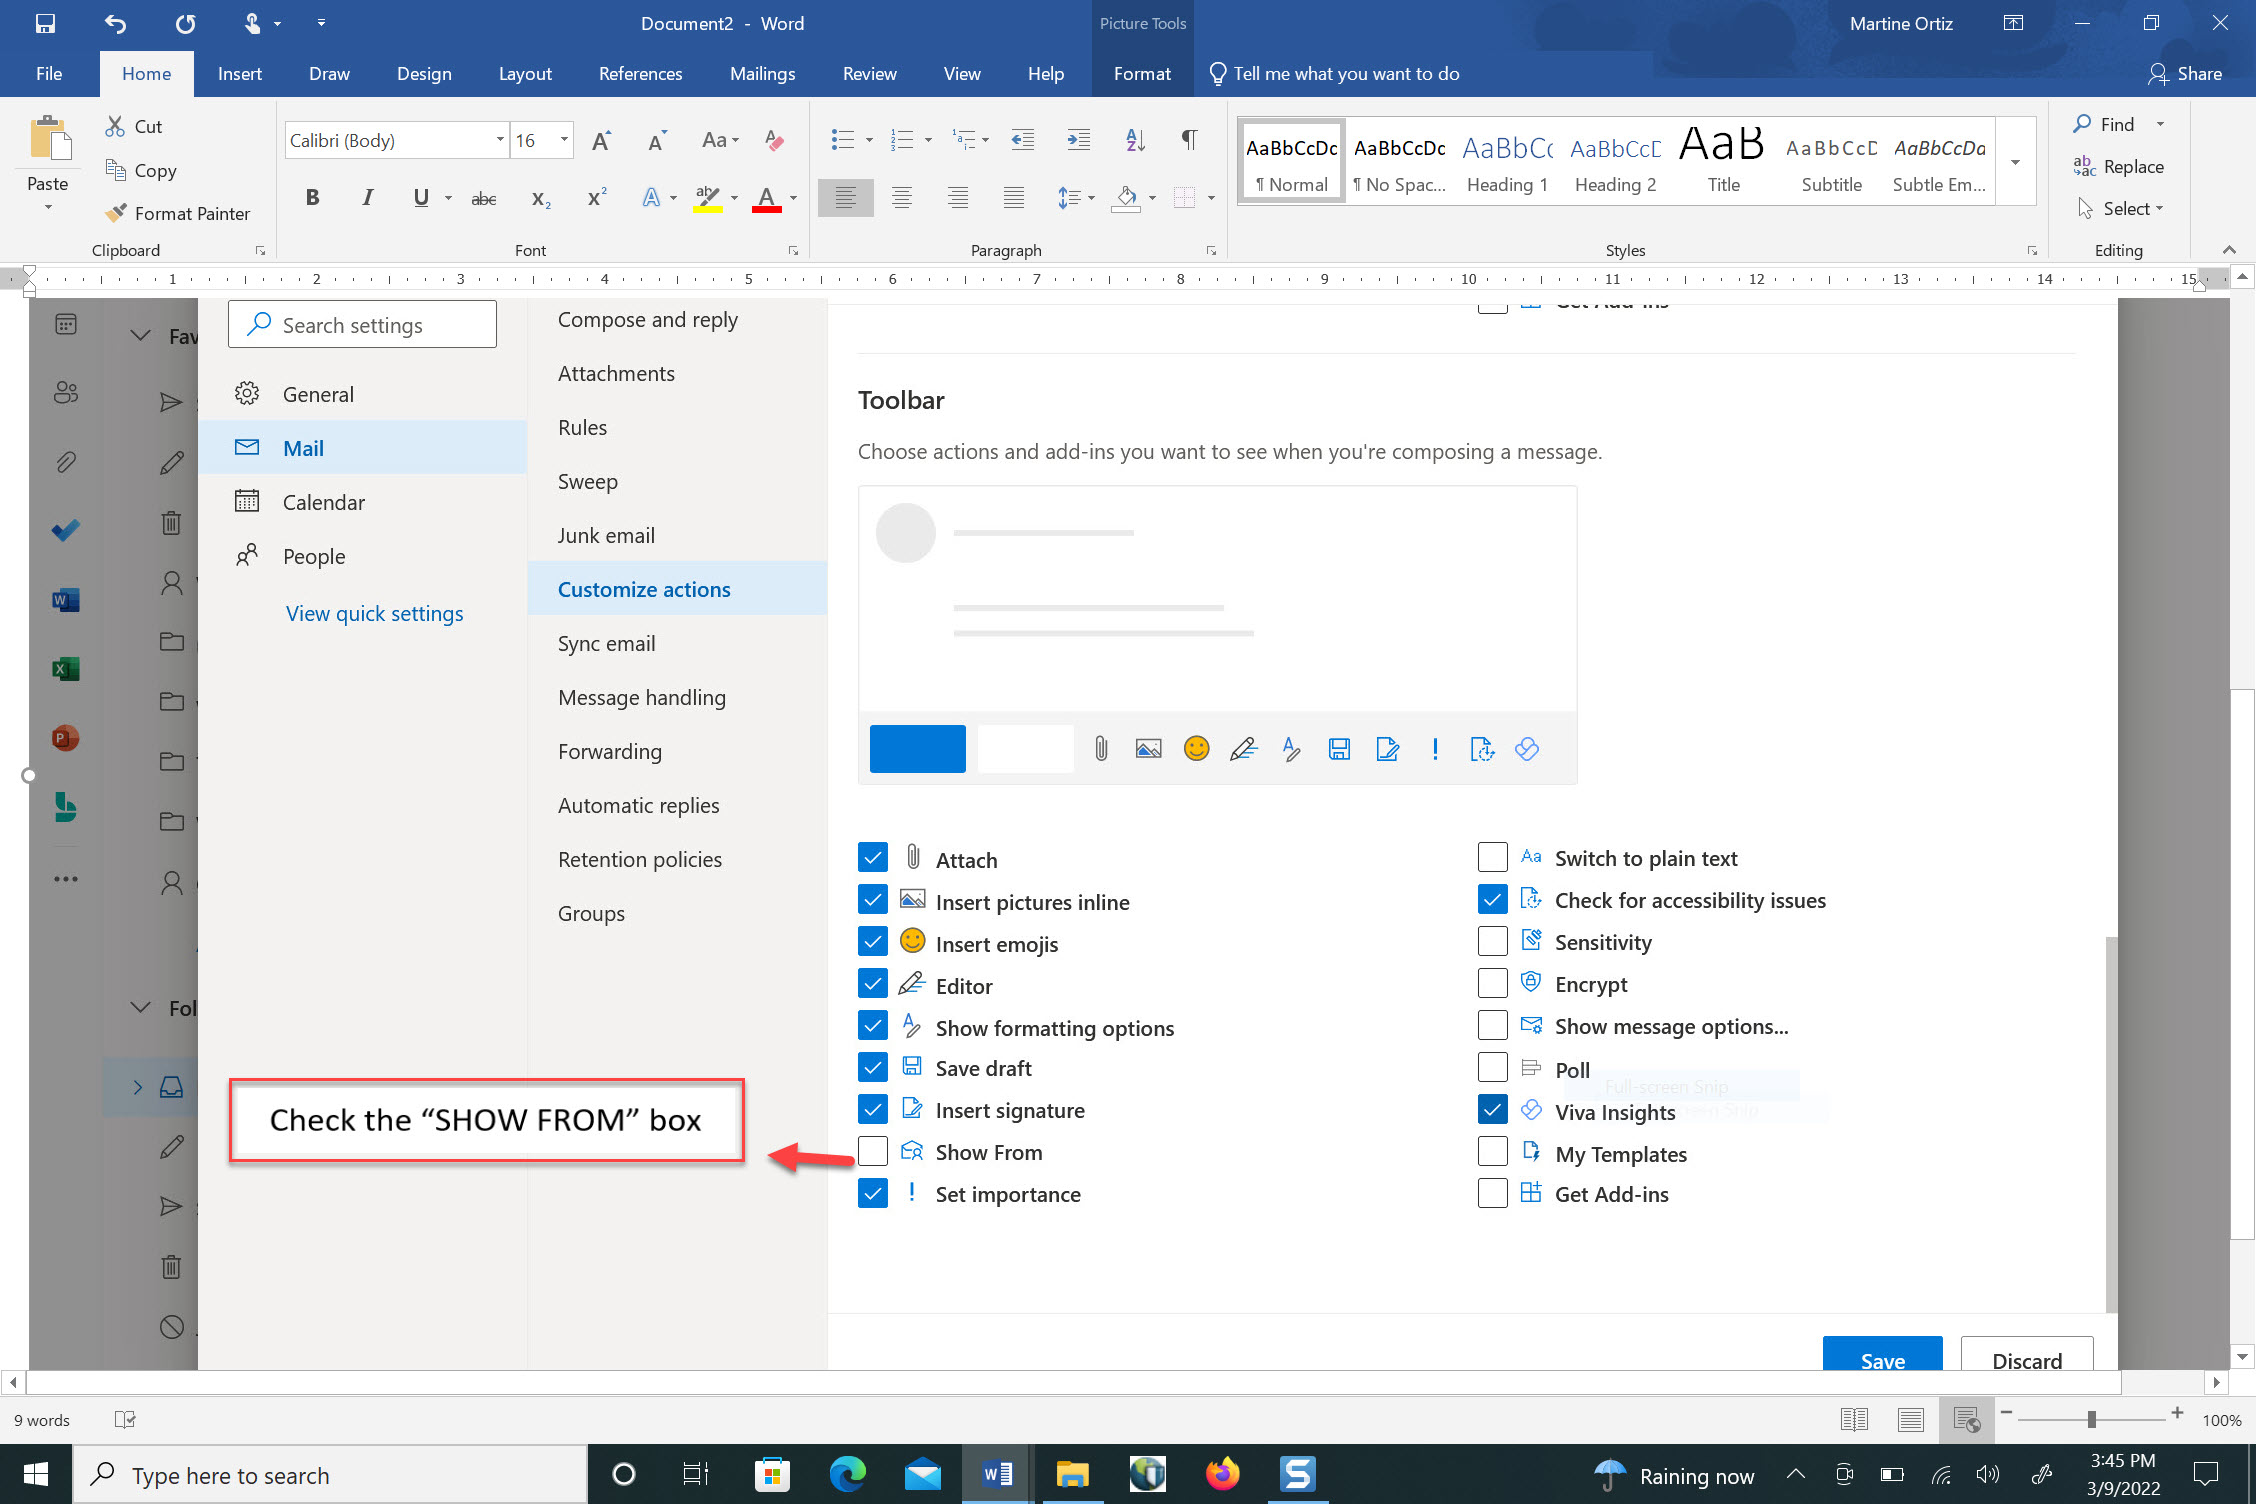
11. You can also check the “Customize actions” field in the Settings in the Toolbar and check the add-in that states “Show From” to include it on the Toolbar Settings. 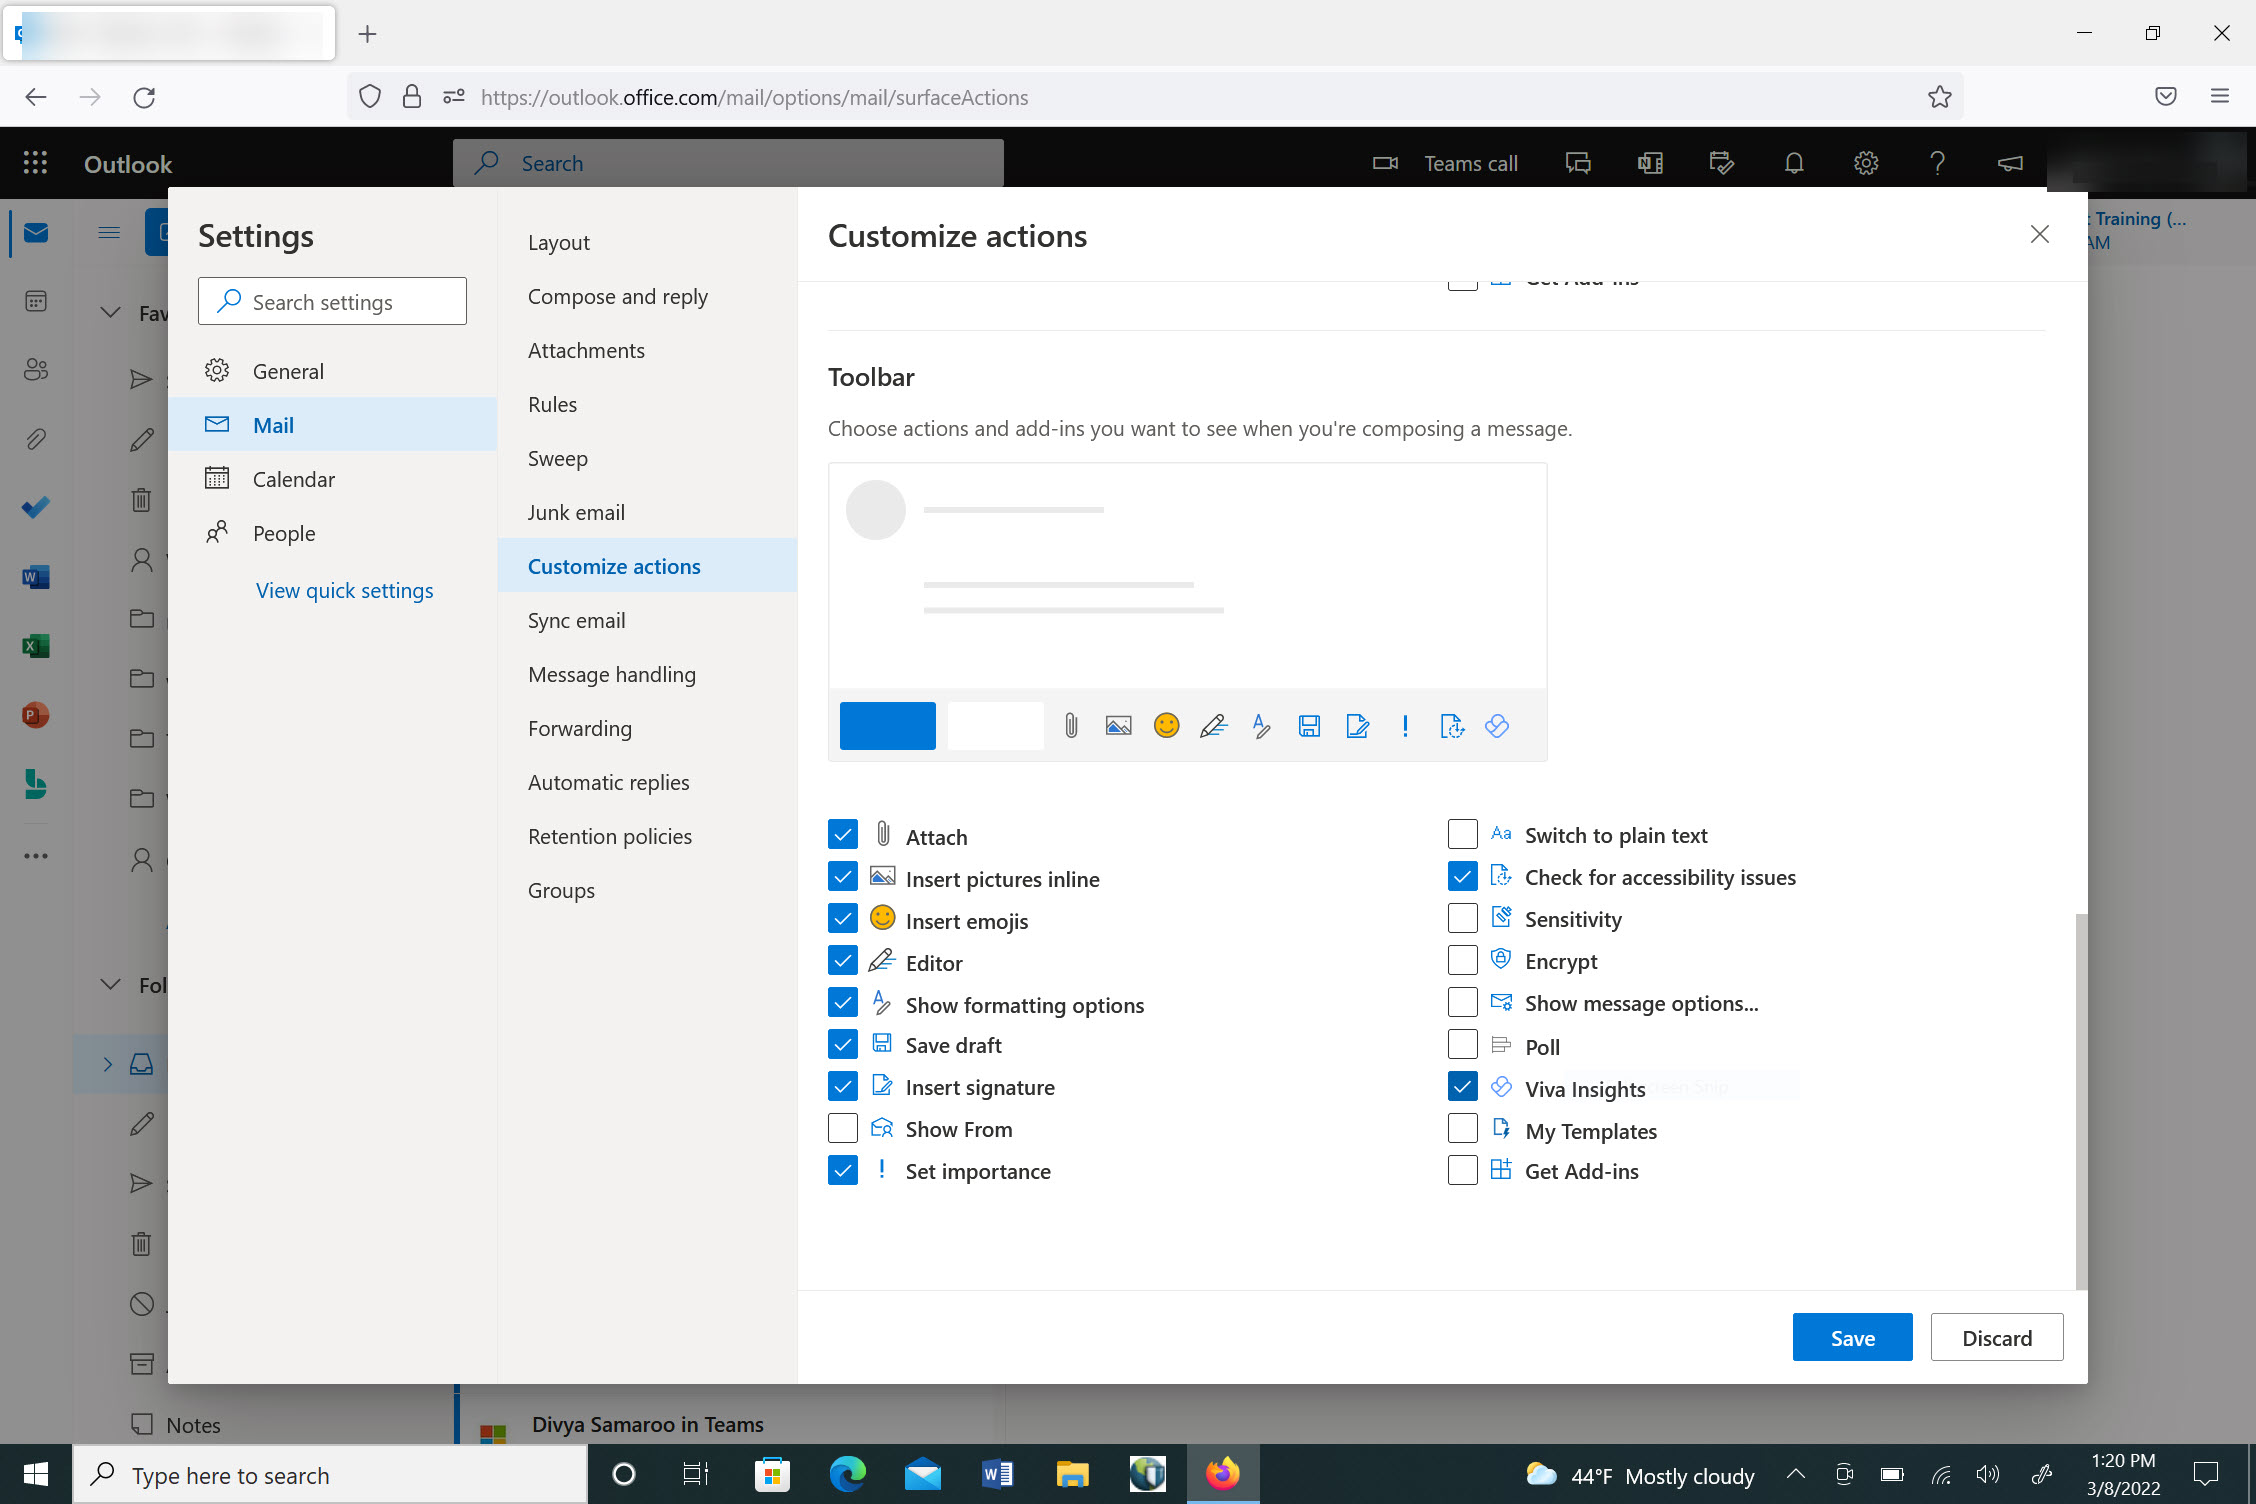
Once you activate the field, you can then click “SAVE”
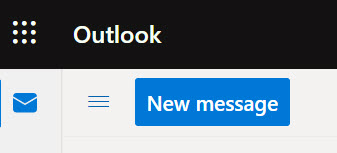
12. You can then compose an email by clicking “New Message” on the OUTLOOK toolbar
13. The new email message will display a “FROM” field on the top of your email above the TO and CC fields.
The FROM field will remain permanently displayed as part of your email settings field unless you choose to remove it by changing your Settings as displayed above.
14. You can right click on the FROM field to receive a dropdown menu which will list the emails that you can choose to send your email.
You can click on the desired email from which to send your email.
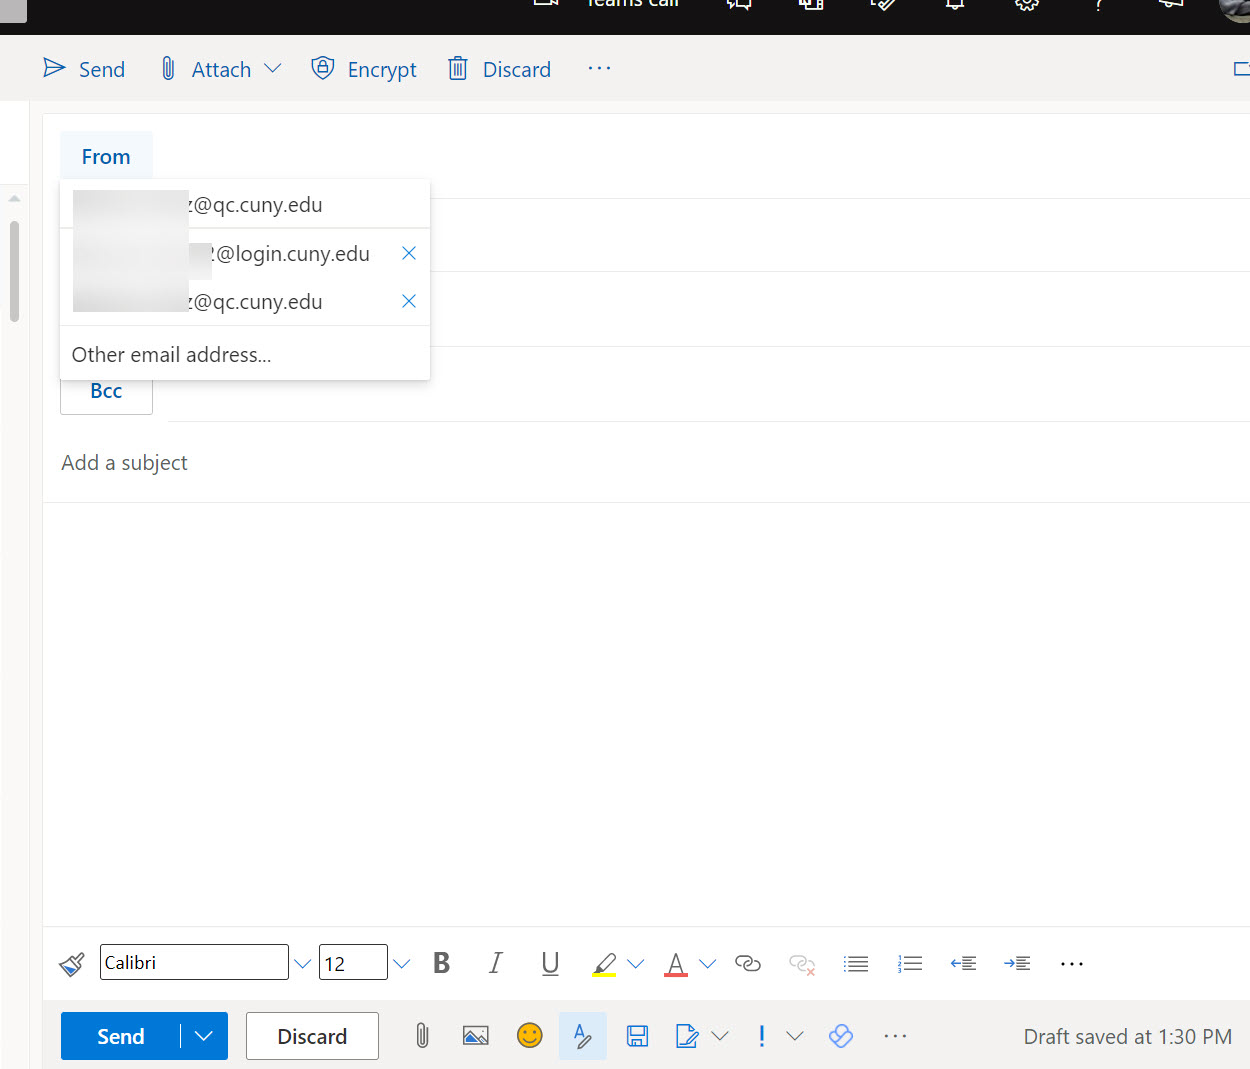
15. Please note that you can select any of the listed addresses and ADD other email addresses. If the address is not listed on the FROM field, you can look for the ADDITIONAL email address by going into the SETTINGS field and looking at the MAIL -> Compose and Reply -> Addresses to send from. This field will list your email addresses and you can choose addresses that start with smtp or SMTP only, namely, the ADDED email address will only work for addresses that your account is authorized to send from. Other listed Addresses will NOT work for your email (e.g. addresses that contain SIP, SPO, X500, etc.)
16. Once you add additional email addresses, click SAVE.
The additional email will then appear in your listed email if it is an authorized email to be sent from your address.
If it does not appear, you are not authorized to send email from that address and it will not be added to the FROM listing in your email dropdown.