VPN and Remote Desktop at Home Guide (Windows at Home to Apple at Work)
User Guide for Connecting Windows computers from outside to an Apple computer on the campus network.
Install the VPN client (PaloAlto GlobalProtect) on your PC
Open the web browser and type in the following website in the address bar: https://gpvpn.qc.cuny.edu
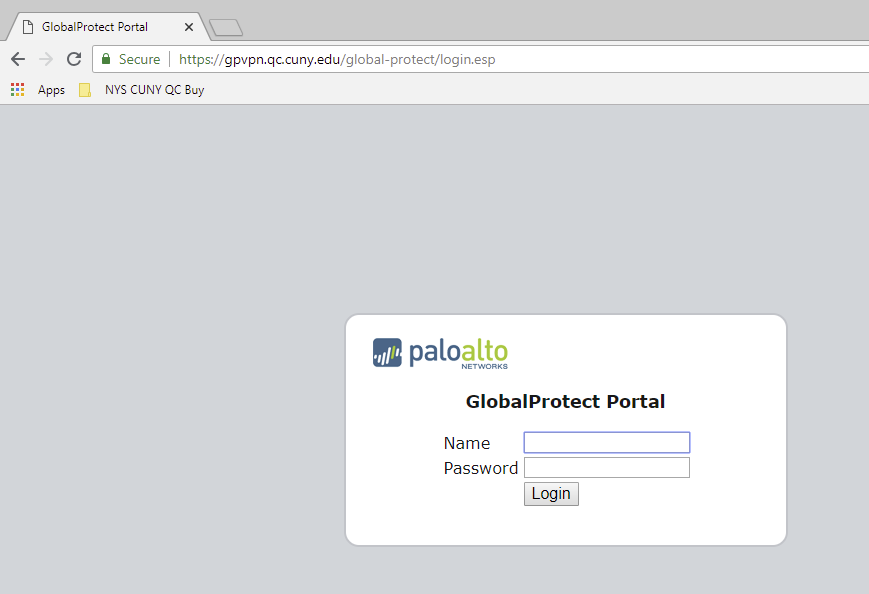 Log In
Input just your QC username (Ex. JSmith) and password to login for downloading the client installation file
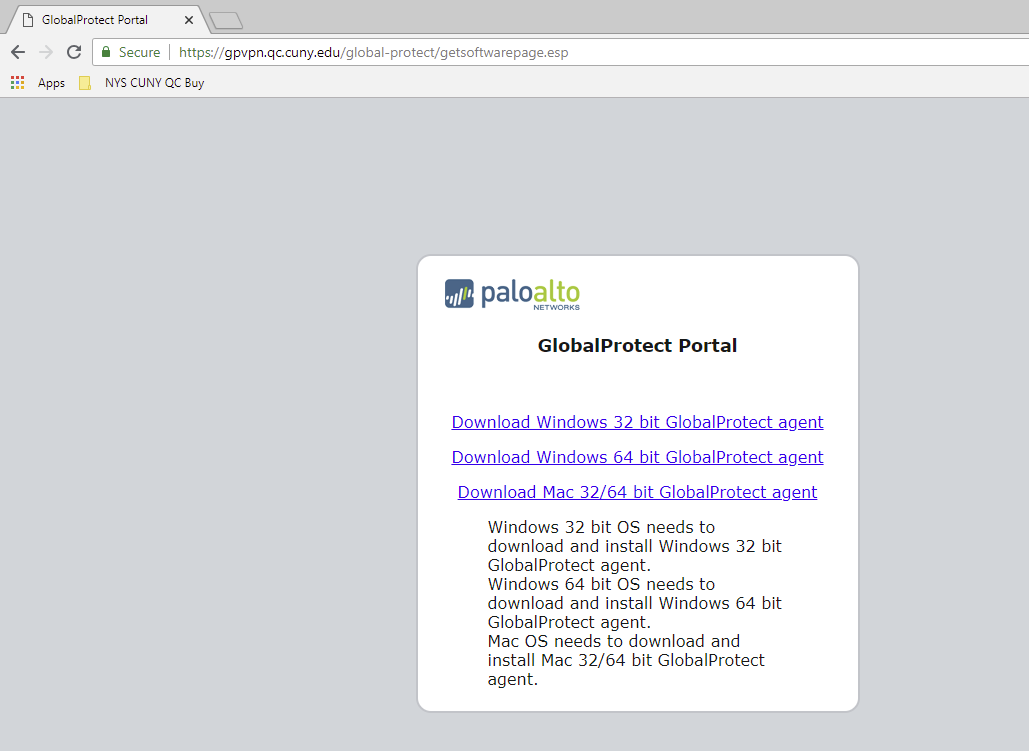
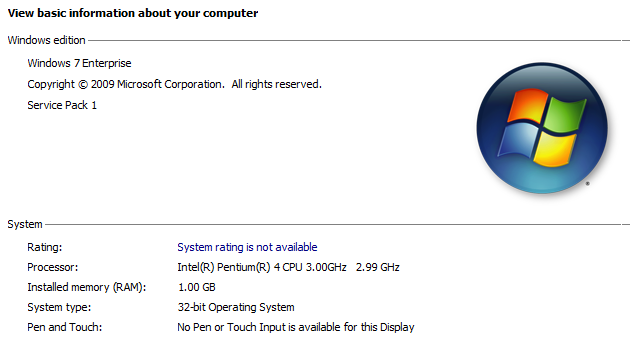
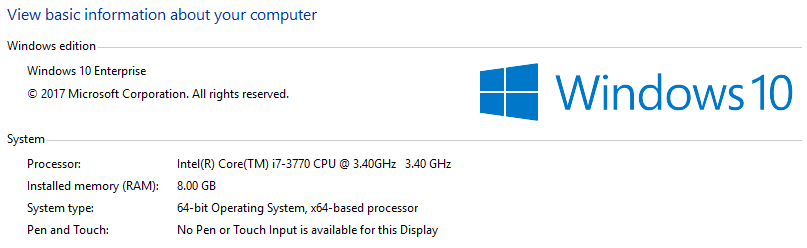
To verify what version of Windows, go to Start > Control Panel > System (Refer to Appendix).
Click on the corresponding link to download the VPN client installation file:
“Download Windows 32 bit GlobalProtect agent” for Windows 32 bit version
(GlobalProtect.msi)
-OR -
“Download Windows 64 bit GlobalProtect agent” for Windows 64 bit version
(GlobalProtect64.msi)
 Link
Link
Click to install the agent on your PC. The installation requires administrator privilege. This is a local administrator, and is not QC administration.
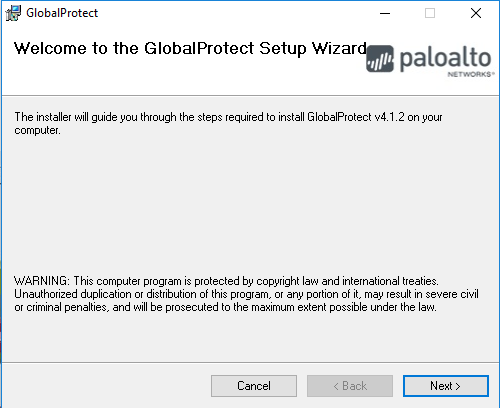 Setup Wizard
Keep all the default settings, click “Next”
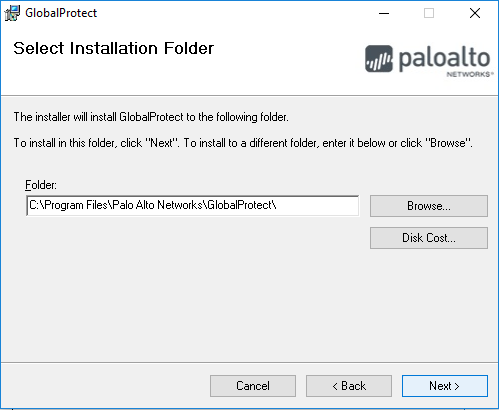 Installation Folder
Keep all the default settings, click “Next”
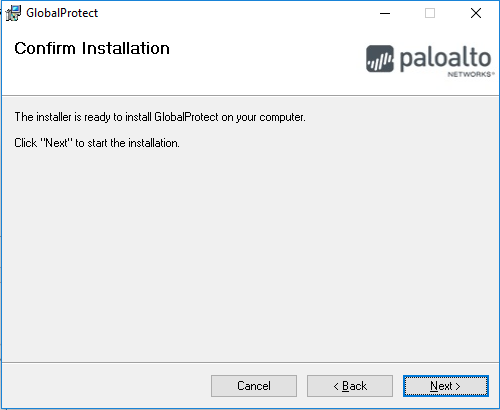 Confirm Installation
Keep all the default settings, click “Next”
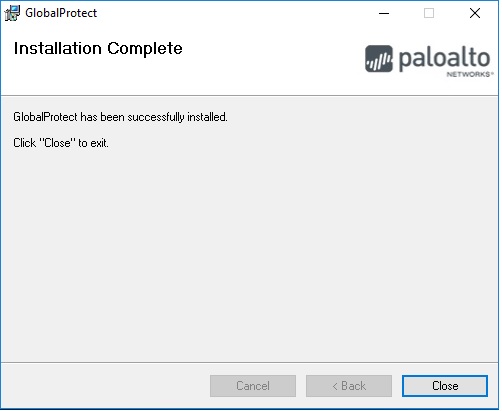 Complete
Close the dialogue windows after the installation completed, and close the browser.
Configure the VPN client (PaloAlto GlobalProtect) on your PC
Input the portal address “gpvpn.qc.cuny.edu”, and click “Connect”
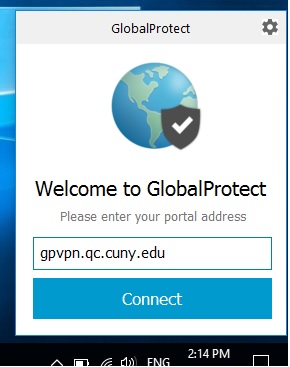 Connect
When prompted, input just your QC username (Ex. JSmith) and password for authentication
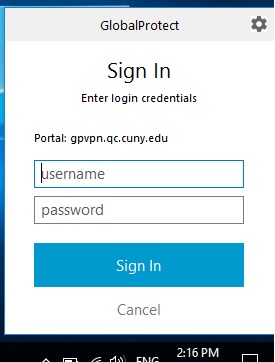 Sign In
 Conecting
After successfully connecting, the PC is now connected remotely to QC network via VPN
 Conncected
At the bottom right hand corner, you will see this icon  , showing that the VPN is connected.
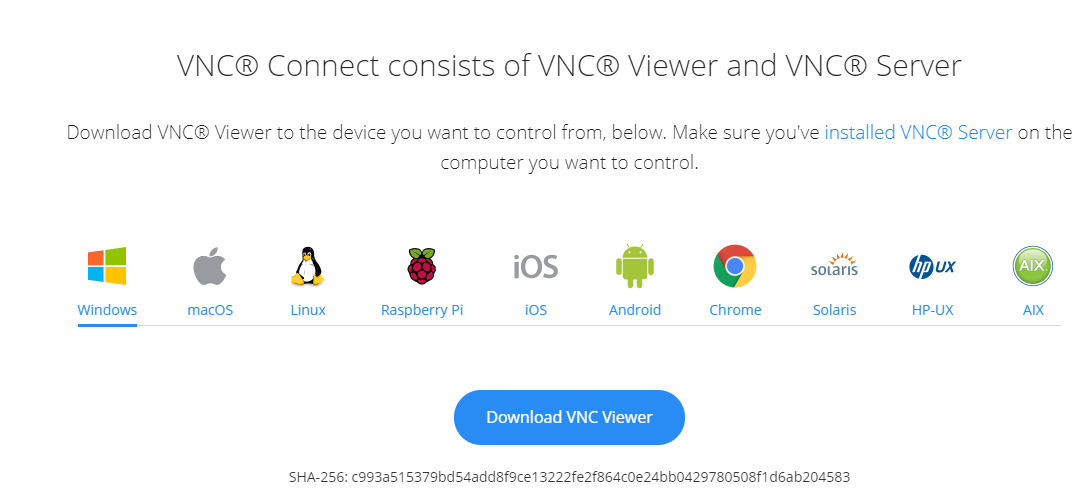
Download and Install VNC.
Click this link to download VNC Viewer for Windows: http://bit.ly/QCVNCWIN.
 Link
Link
Click on the blue button in the center of the screen to begin the download.
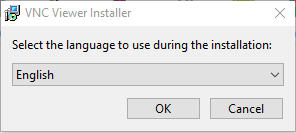 Language
When the file has downloaded, click to run the installer. Select the language you would like to install.
 Setup
Setup
Click Next to continue through the installation.
 Agreement
Check the box to accept the EULA and click Next.
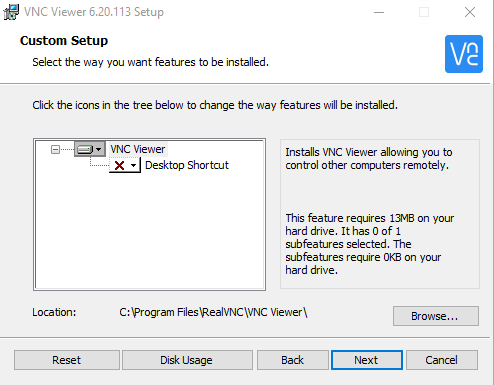 Custom Setup
Click next to confirm features.
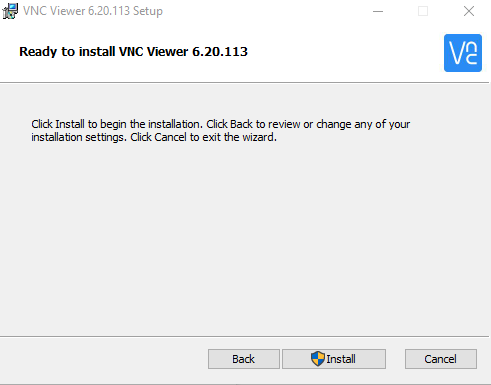 Install
Click Install to start the install.
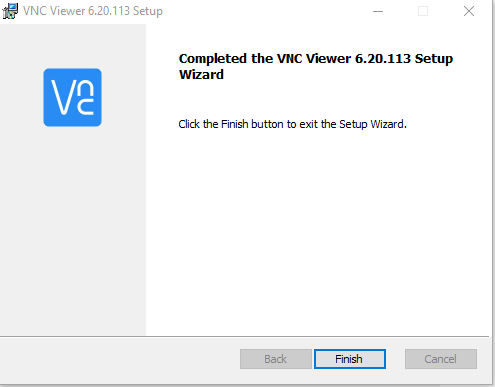 Setup Wizard
Click Finish to exit the setup wizard.
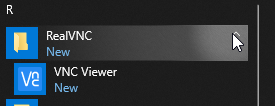 Run the VNC Viewer
From the Start Menu, run the VNC Viewer.
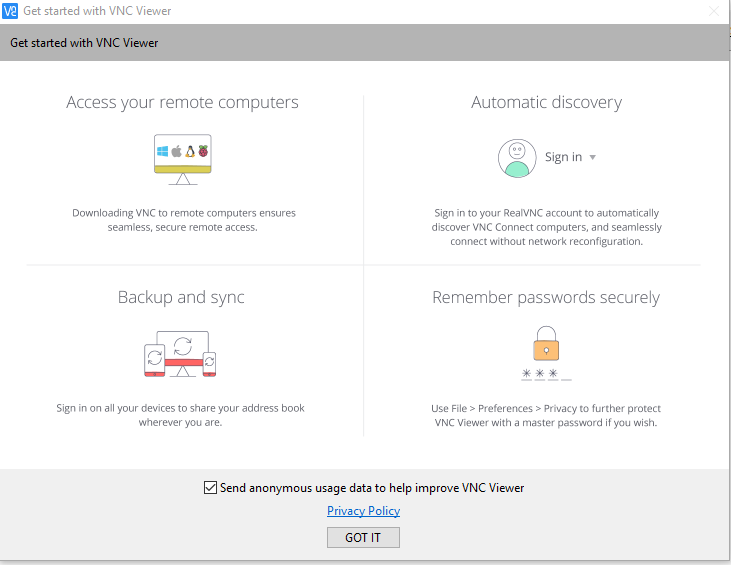 Privacy Policy
Click GOT IT to confirm acceptance of the privacy policy.
 PC Name
Enter the computer name that you noted at work in the top bar of the application. You will be prompted for the password that you also noted at work.
Logout / Sign out VPN connection
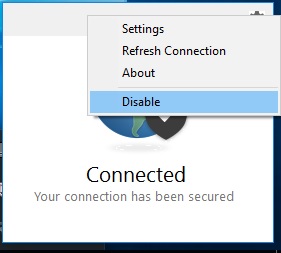 Disable
To logout, click on the GlobalProtect icon, then click the setting icon  , click “Disable”
To re-login again, just click “Enable”, then you will be prompted to login again (username preserved)
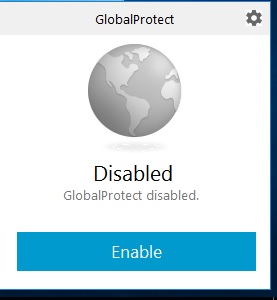 Disabled
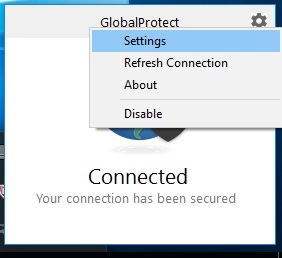 Settings
To sign out VPN completely, click on the GlobalProtect icon, then click the setting icon  , click “Settings”.
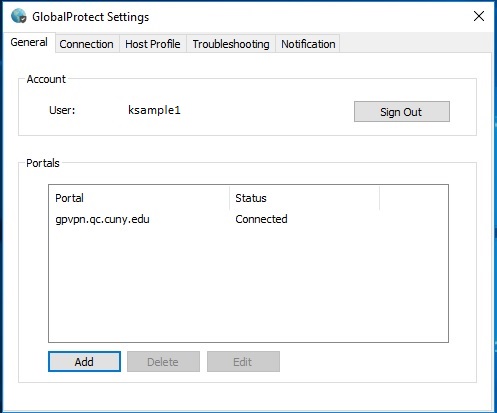 Sign Out
Then click “Sign Out”.
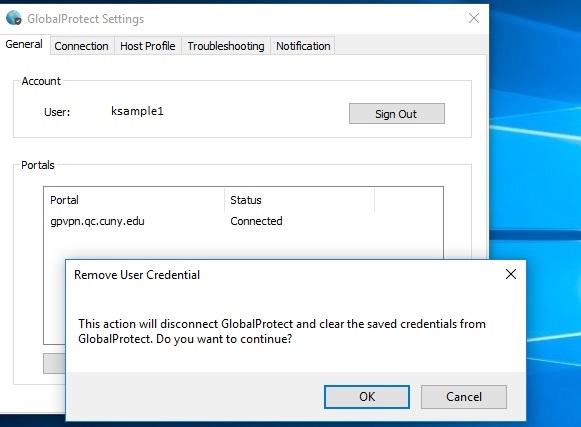 Confirm
Confirm the dialogue to sign out completely
At the bottom right hand corner, you will see this icon  , showing that the VPN is disconnected.Remarks: Please remember to disconnect the VPN connection before logging off, shutting down, or restarting
the computer.
Appendix:
To verify what version of Windows, go to Start > Control Panel > System
 Information
 System
Prepared by ITS
Date: 3/13/2020
Version 1.3 – DV
Version Listing
Version 1 – Original connection documents from Sunny Chan for VPN & Added VNC install and connection
Version 1.1 – Added clarification of correct usernames for each location needed. Added clarification that Windows UN/PWD is local, not QC.
Version 1.2 – Clarified that installing the VPN Client on Home computer is 32-bit OR 64-bit.
Version 1.3 -- Cleaned up for Freshservice.