How to Assign Calendar Permissions to Another user in Outlook for iOS
1. Select the calendar to share by clicking the gear icon.
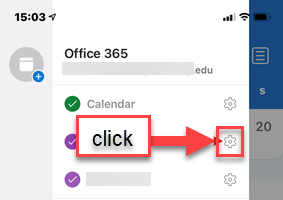 Gear Icon
2. Add people and privileges from “My Organization”
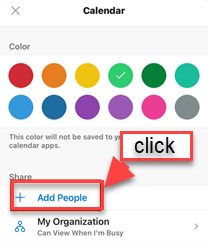 Add People
3. Select a person by typing their name in the search field
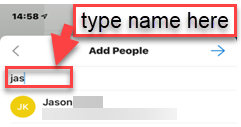 Type Name
4. From “Share Calendar,” select “Can View All Details.”
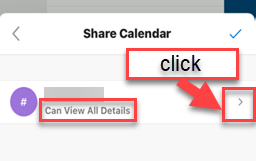 View Details
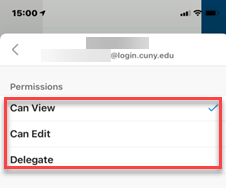
5. Then select a permission from the options:
a. “Can View”
b. “Can Edit”
c. “Delegate”
 Options
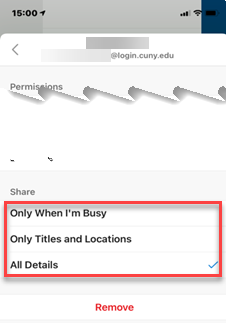
6. Select a share option:
a. “Only When I’m Busy”
b. “Only Titles and Locations”
c. “All Details”
 Share Options
Additional Instructions:
Open a shared calendar in Outlook for iOS