VPN and Remote Desktop at Home Guide (Windows at Work to Windows at Home)
User Guide for Connecting Windows computers from outside to a Windows computer on the campus network.
Install the VPN client (PaloAlto GlobalProtect) on your PC
Open the web browser and type in the following website in the address bar: https://gpvpn.qc.cuny.edu
 Login Credentials
Input your CUNY Login credentials to login
If you are prompted to share your location with ssologin.cuny.edu, click Allow:
 Allow
Allow
Click on the Enter OTP from device link corresponding to the friendly name you set up for CUNY Login MFA.
 TOTP
TOTP
In the Enter OTP from the registered phone field, enter the one-time password code and click Verify. Do not enter spaces.
 OTP
OTP
To verify what version of Windows, go to Start > Settings > System > About (Refer to Appendix).
Click on the corresponding link to download the VPN client installation file:
“Download Windows 32 bit GlobalProtect agent” for Windows 32 bit version (GlobalProtect.msi)
-OR -
“Download Windows 64 bit GlobalProtect agent” for Windows 64 bit version (GlobalProtect64.msi)
 Link
Link
Click to install the agent on your PC. The installation requires administrator privilege. This is a local administrator for your computer, and not a QC administrator.
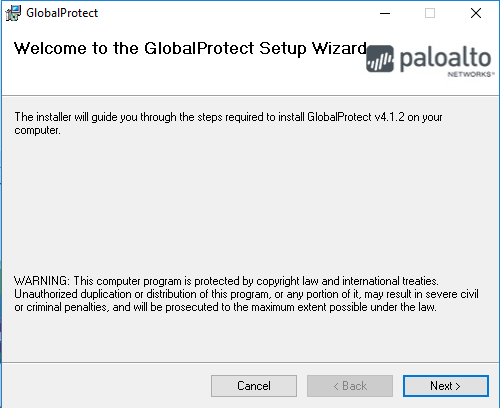 Setup Wizard
Keep all the default settings, click “Next”
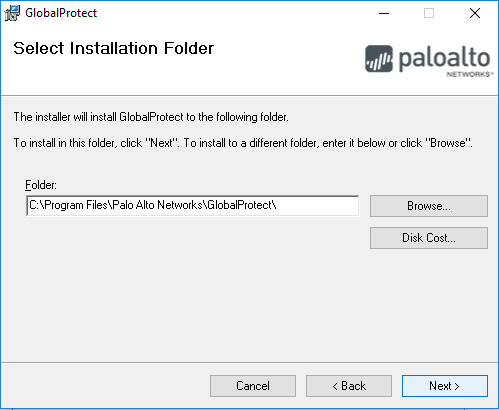 Installation Folder
Keep all the default settings, click “Next”
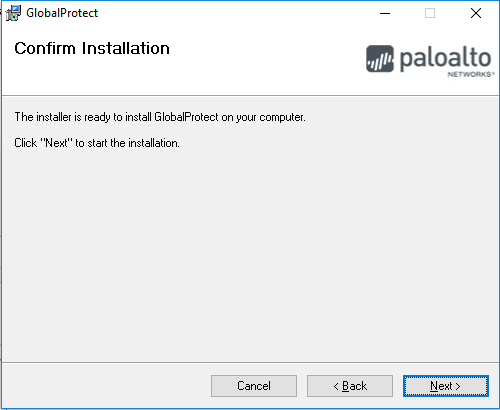 Confirm
Keep all the default settings, click “Next”
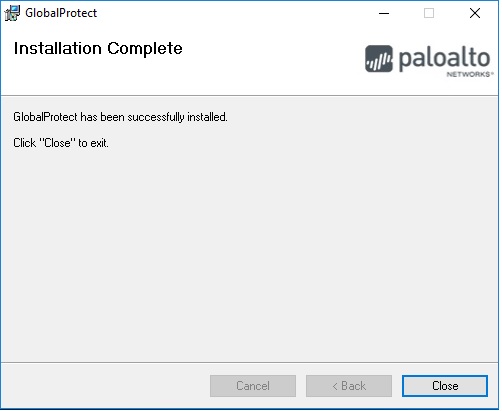 Complete
Close the dialogue windows after the installation completed, and close the browser.
Configure the VPN client (PaloAlto GlobalProtect) on your PC.
Input the portal address “gpvpn.qc.cuny.edu”, and click “Connect”
 Portal
When prompt, input CUNY Login Credentials
 Login Credentials
Click on the Enter OTP from device link corresponding to the friendly name you set up for CUNY Login MFA.
 TOTP
TOTP
In the Enter OTP from the registered phone field, enter the one-time password code and click Verify. Do not enter spaces.
 OTP
OTP
A New Tab will open in your browser. Click "Open GlobalProtect" in the popup browser tab. Important Note: You must click this popup prompt twice. The second prompt will appear a few seconds after the first, in a new tab.
 Click
Click
 Click
Click
Important Note: You may need to wait a couple seconds for a successful connection after clicking on the second "Open GlobalProtect" prompt.
 Connected
After successfully authenticated, the PC is now connected remotely to QC network via VPN
At the bottom right hand corner, you will see this icon  , showing that the VPN is connected.
Run Microsoft Remote Desktop
Click on the Windows Icon, and type the word “Remote” (without the quotes). Click on Remote Desktop Connection in the left column.
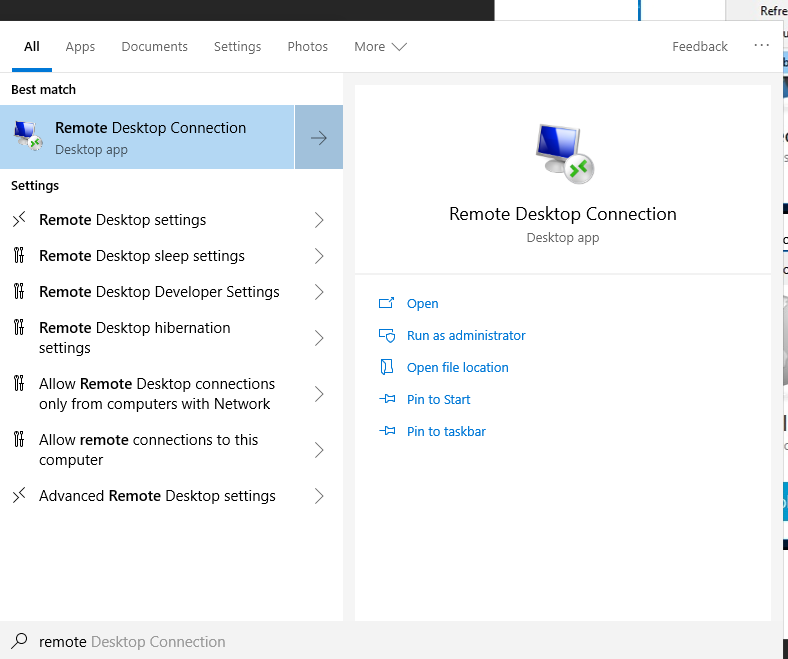 Remote Desktop Connection
When the Remote Desktop Connection window appears, enter the computer name that you noted at work.
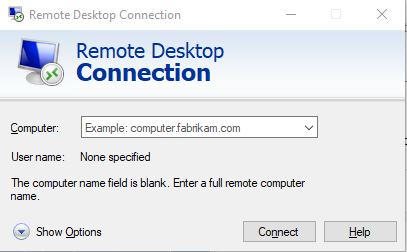 Computer Name
Once connected, you will be prompted for your QC username and password. Your QC username MUST be preceded by “qc\”. (Ex. qc\JSmith)
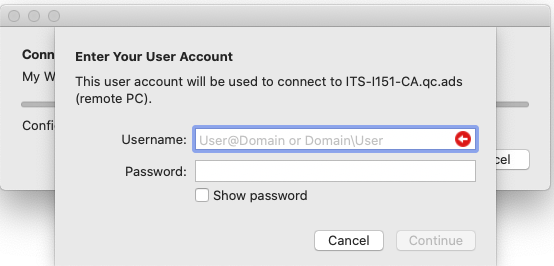 User Account
Logout / Sign out VPN connection
To logout, click on the GlobalProtect icon, then click the Disconnect button.
 Connect
To re-login again, just click “Connect”, then you may be prompted to login again.
 Portal
To sign out VPN completely, click on the GlobalProtect icon, then click the setting icon  , click “Settings”.

 Settings
Then click “Sign Out”.
 Sign Out
Pop up dialogue box will appear to confirm that you want to sign out completely. Click Yes to continue.
 Disconnected
In the bottom right hand corner, you will see this icon  , showing that the VPN is disconnected.
Remarks: Please remember to disconnect the VPN connection before logging off, shutting down, or restarting the computer.
Appendix:
To verify what version of Windows, go to Start > Settings > System > About
 Windows Specifications
Prepared by ITS
Date: Mar 13, 2020
Version 1.3 – DV
Version 1.5 - RL
Version Listing
Version 1 – Original connection documents from Sunny Chan for VPN & Added Remote Desktop connection
Version 1.1 – Added clarification of correct usernames for each location needed. Added clarification that Windows UN/PWD is local, not QC.
Version 1.2 – Clarified that installing the VPN Client on Home computer is 32-bit OR 64-bit.
Version 1.3 - Edited to fit better in FreshService
Version 1.4 - Updated process on what account is used to sign into VPN
Version 1.5 - Updated screenshot for login process and application.