Set Up Queens VPN at Home (Windows)
Before installing the VPN client, please see the list below for compatible Windows 10 versions
Windows 10 (Home, Pro, Enterprise) Versions: 1507, 1607, 1709, 1803, 1809, 1903, 1909
To find out which version of Windows your device is running,

Install the VPN client (PaloAlto GlobalProtect) on your PC
Open the web browser and type in the following website in the address bar: https://gpvpn.qc.cuny.edu
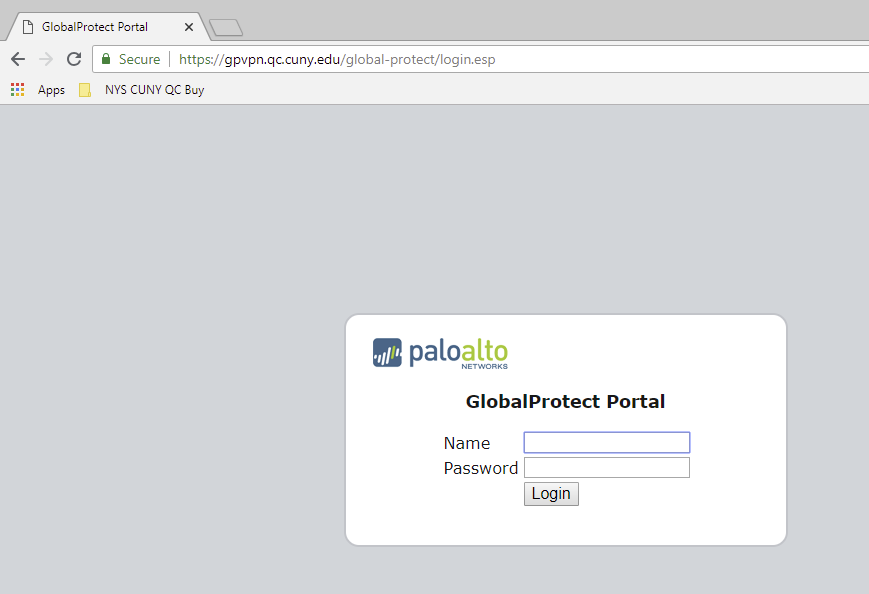
Input just your QC username (Ex. JSmith) and password to login for downloading the client installation file
To verify what version of Windows, go to Start > Control Panel > System (Refer to Appendix).
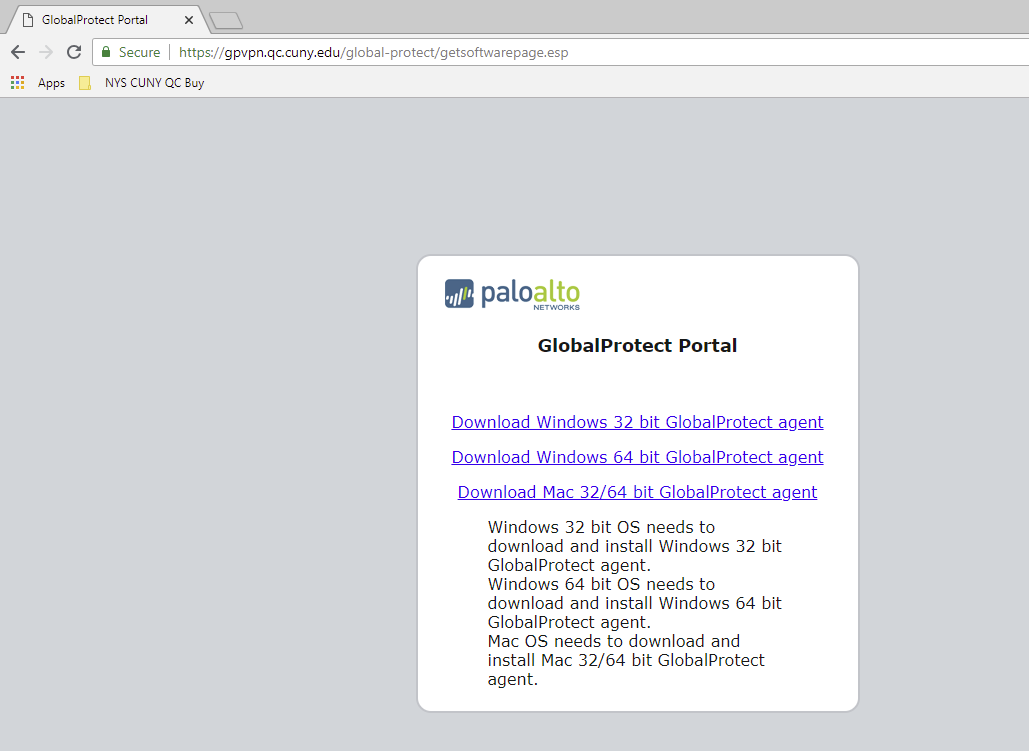
Click on the corresponding link to download the VPN client installation file:
“Download Windows 32 bit GlobalProtect agent” for Windows 32 bit version
(GlobalProtect.msi)
-OR -
“Download Windows 64 bit GlobalProtect agent” for Windows 64 bit version
(GlobalProtect64.msi)
Click to install the agent on your PC. The installation requires administrator privilege. This is a local administrator, and is not QC administration.
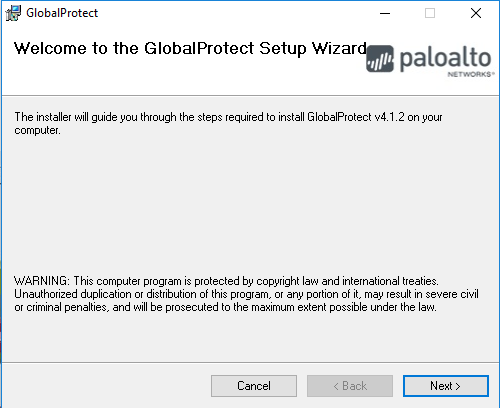
Keep all the default settings, click “Next”
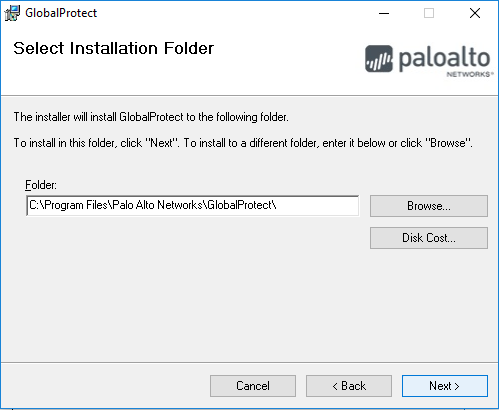
Keep all the default settings, click “Next”
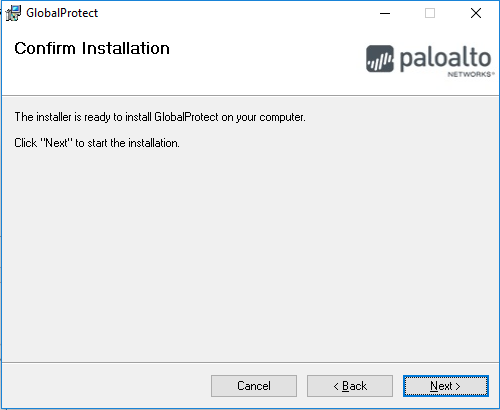
Keep all the default settings, click “Next”
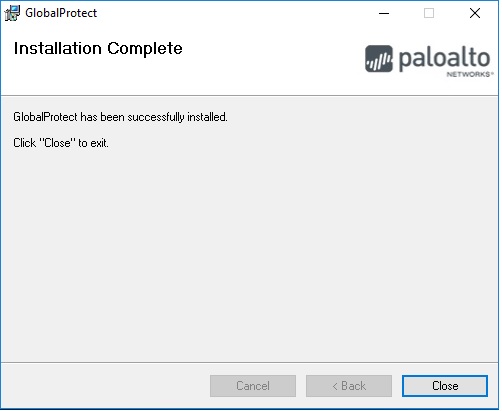
Close the dialogue windows after the installation completed, and close the browser.
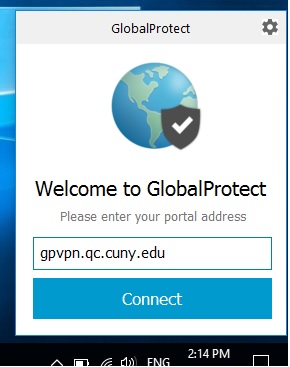
Configure the VPN client (PaloAlto GlobalProtect) on your PC
Input the portal address “gpvpn.qc.cuny.edu”, and click “Connect”
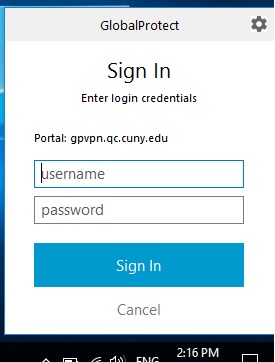
When prompted, input just your QC username (Ex. JSmith) and password for authentication

After successfully connecting, the PC is now connected remotely to QC network via VPN

At the bottom right hand corner, you will see this icon  , showing that the VPN is connected.